
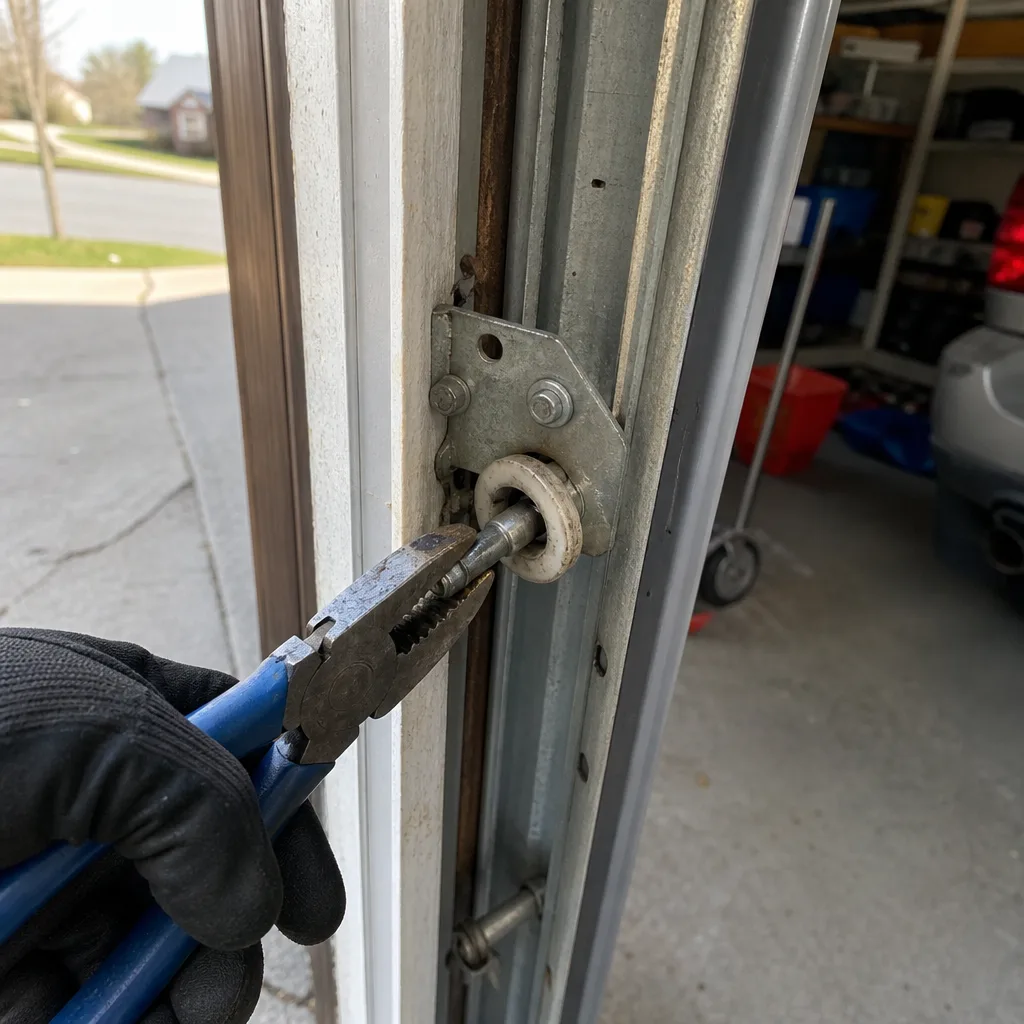
Last updated November 21, 2026
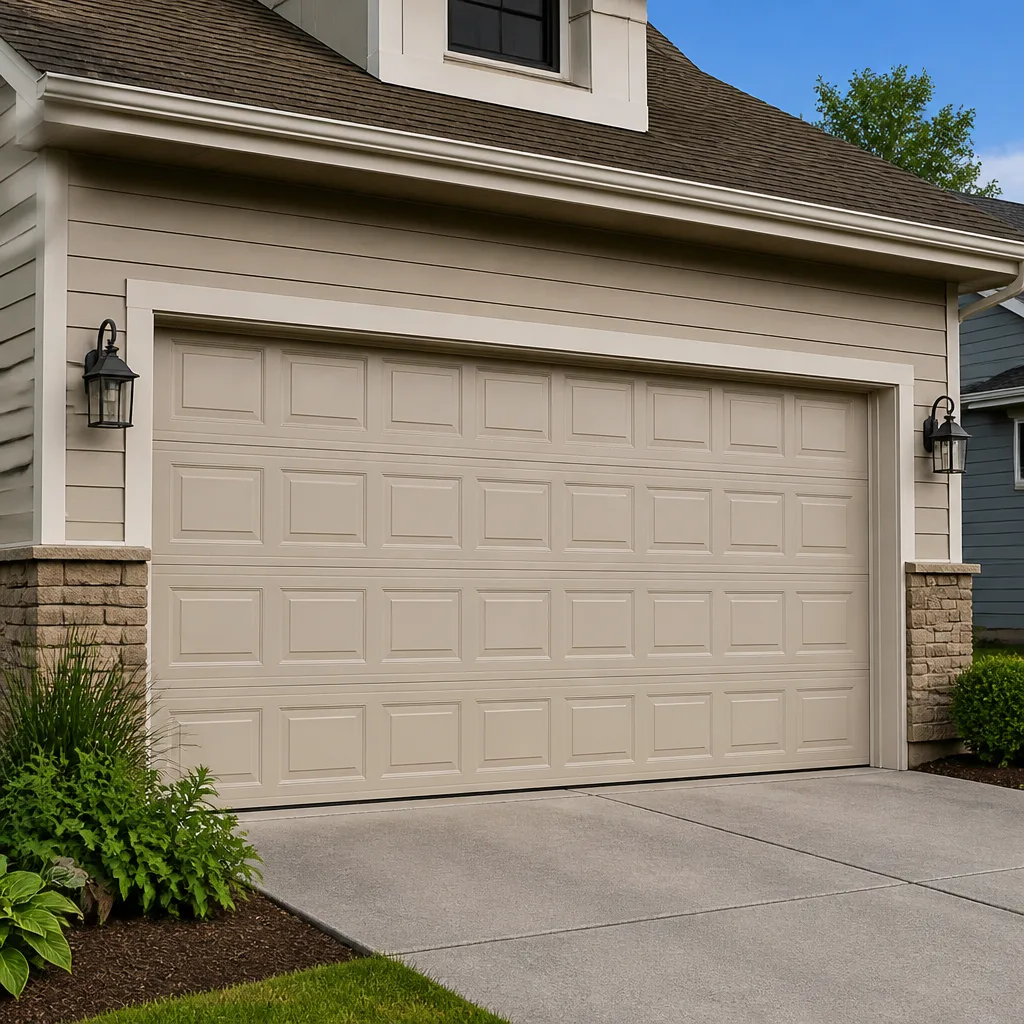 Raised-panel steel
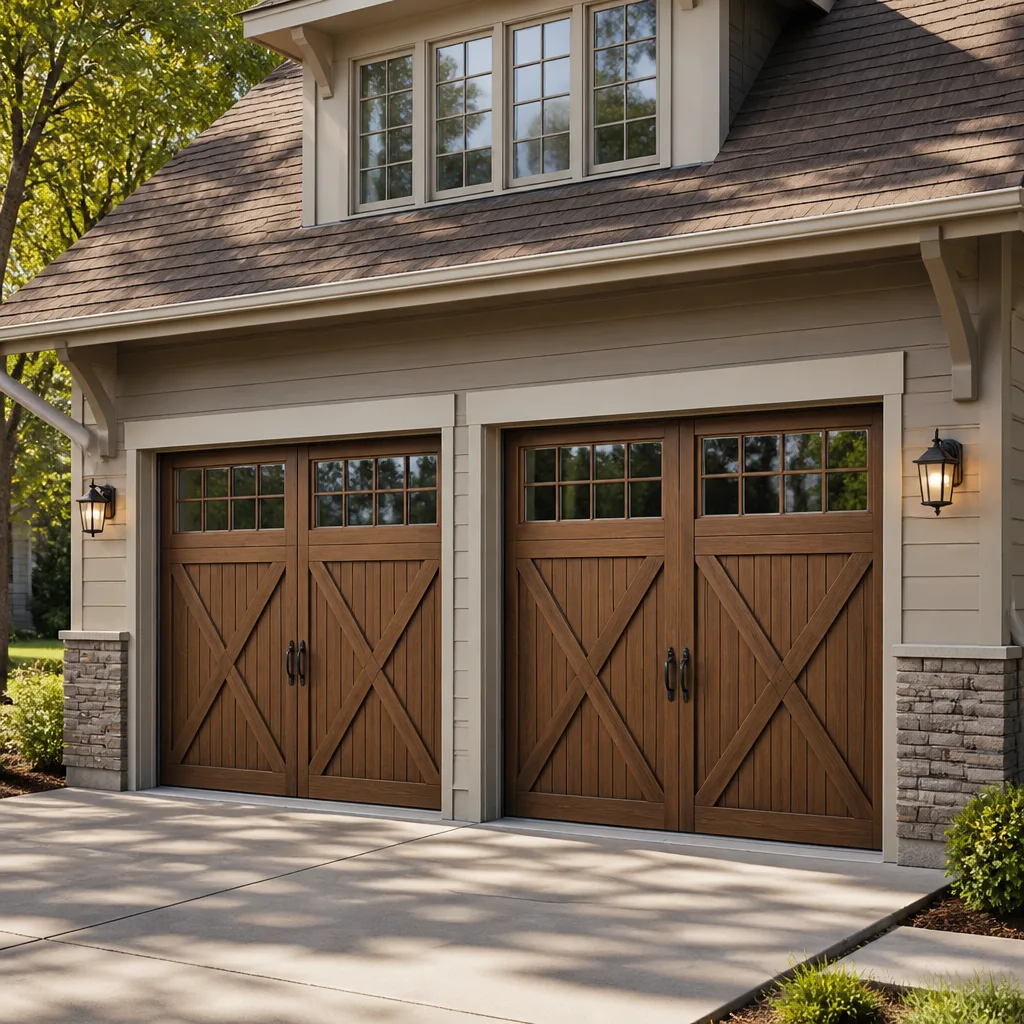 Carriage house
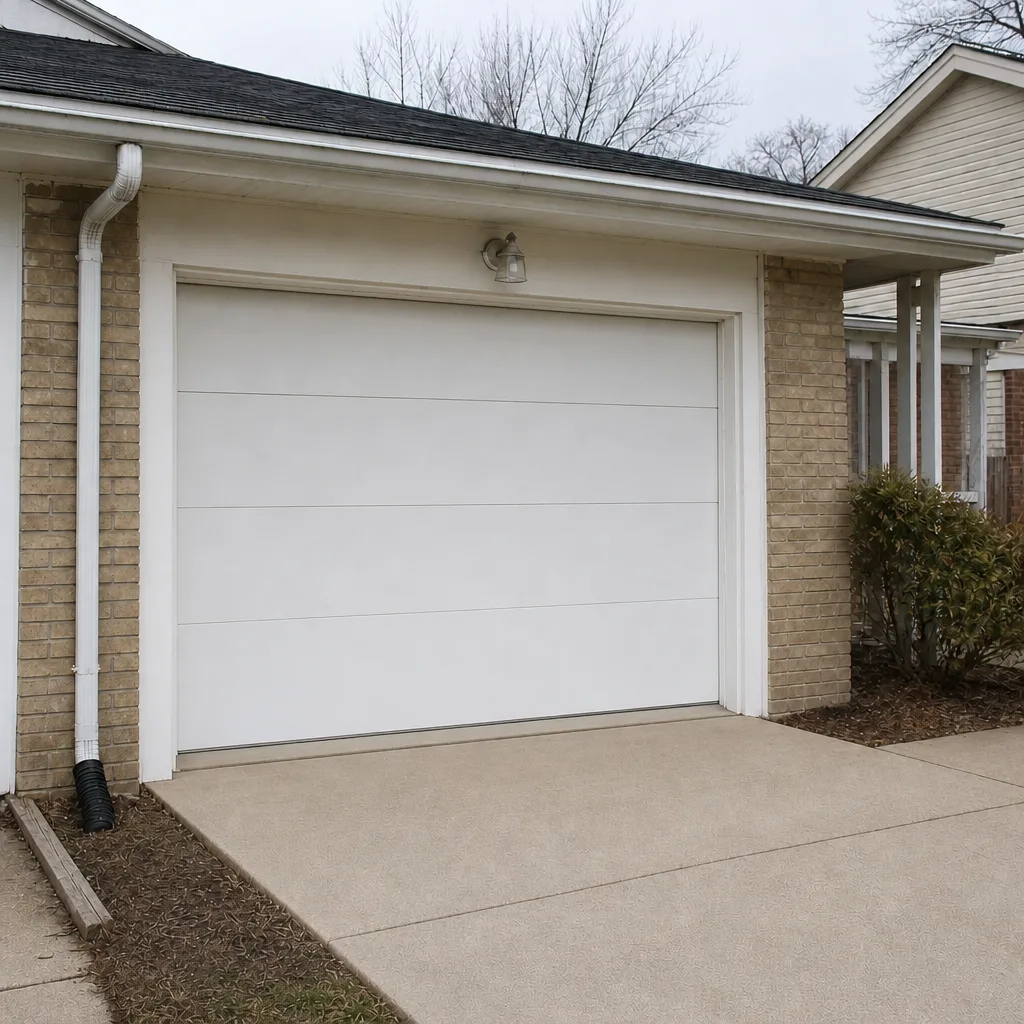
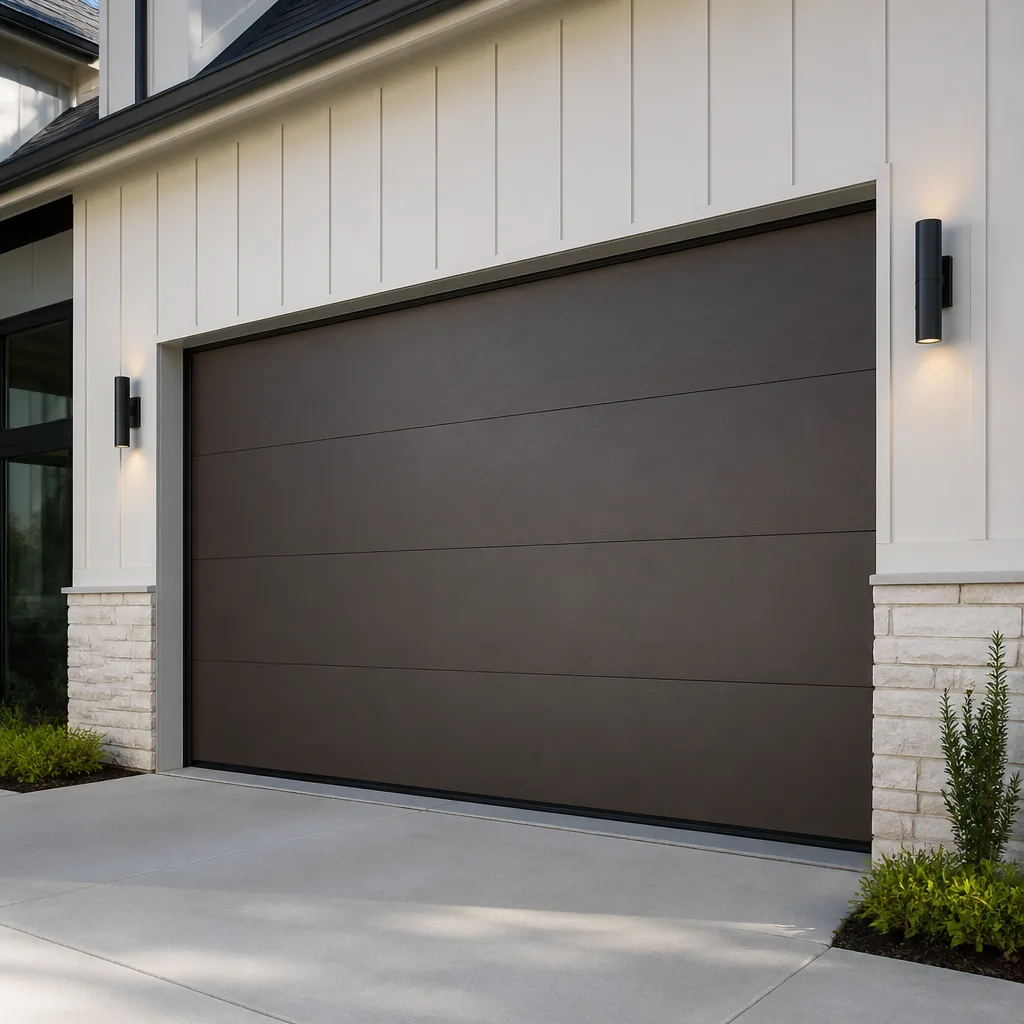 Modern flush
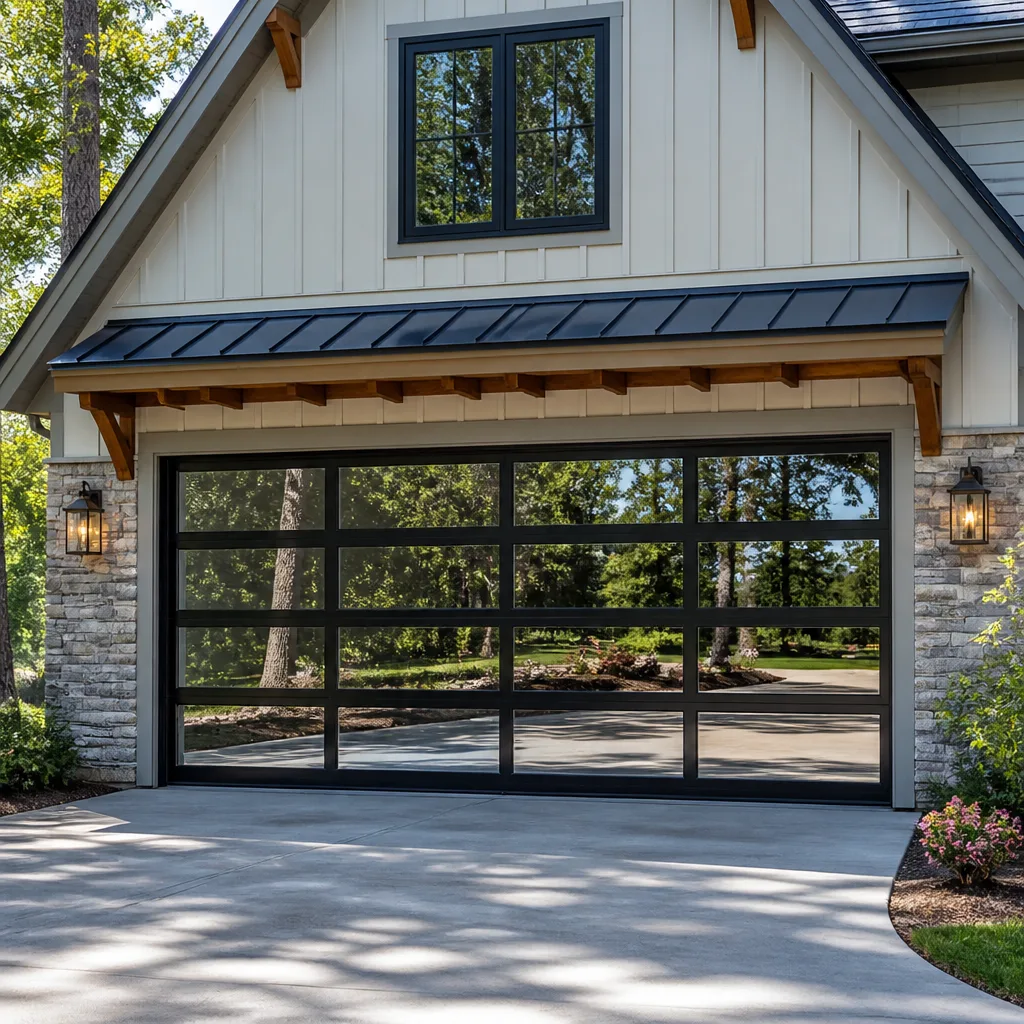 Full-view glass
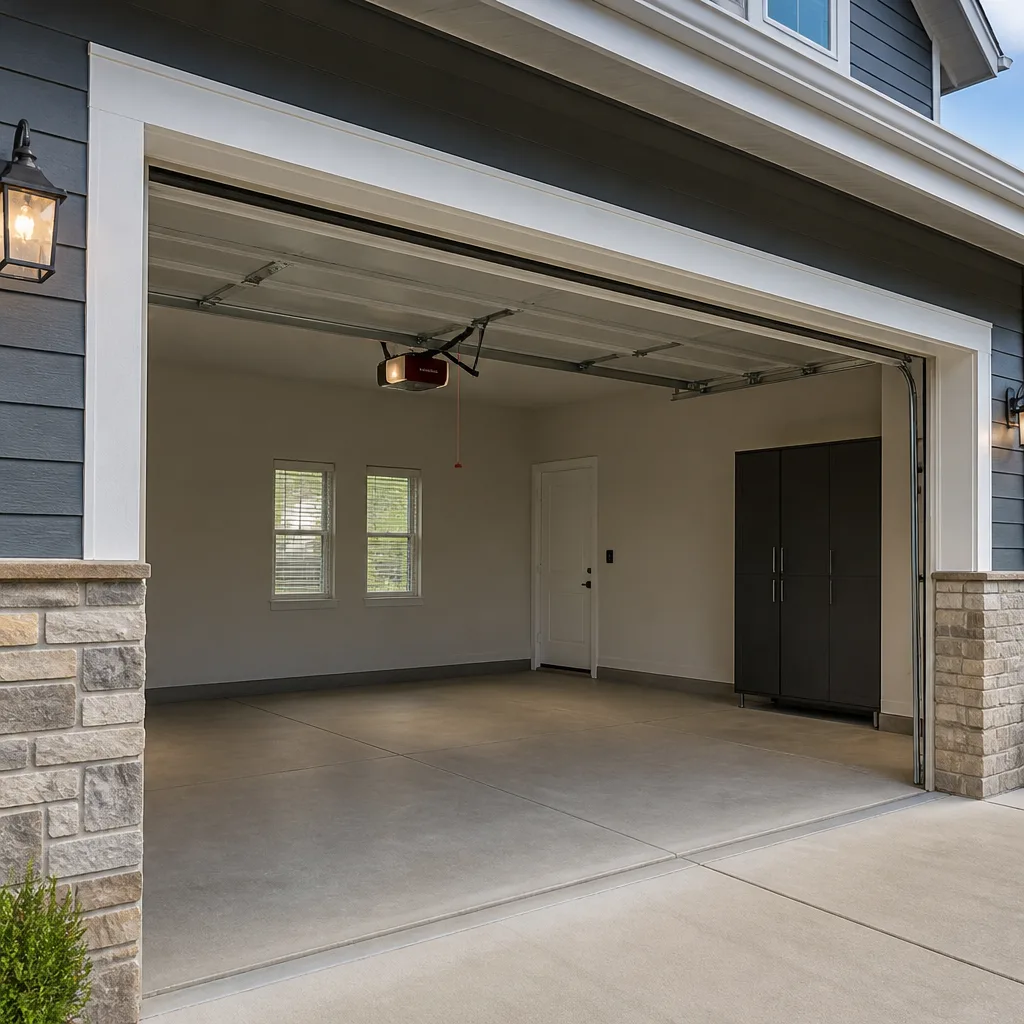 LiftMaster openers
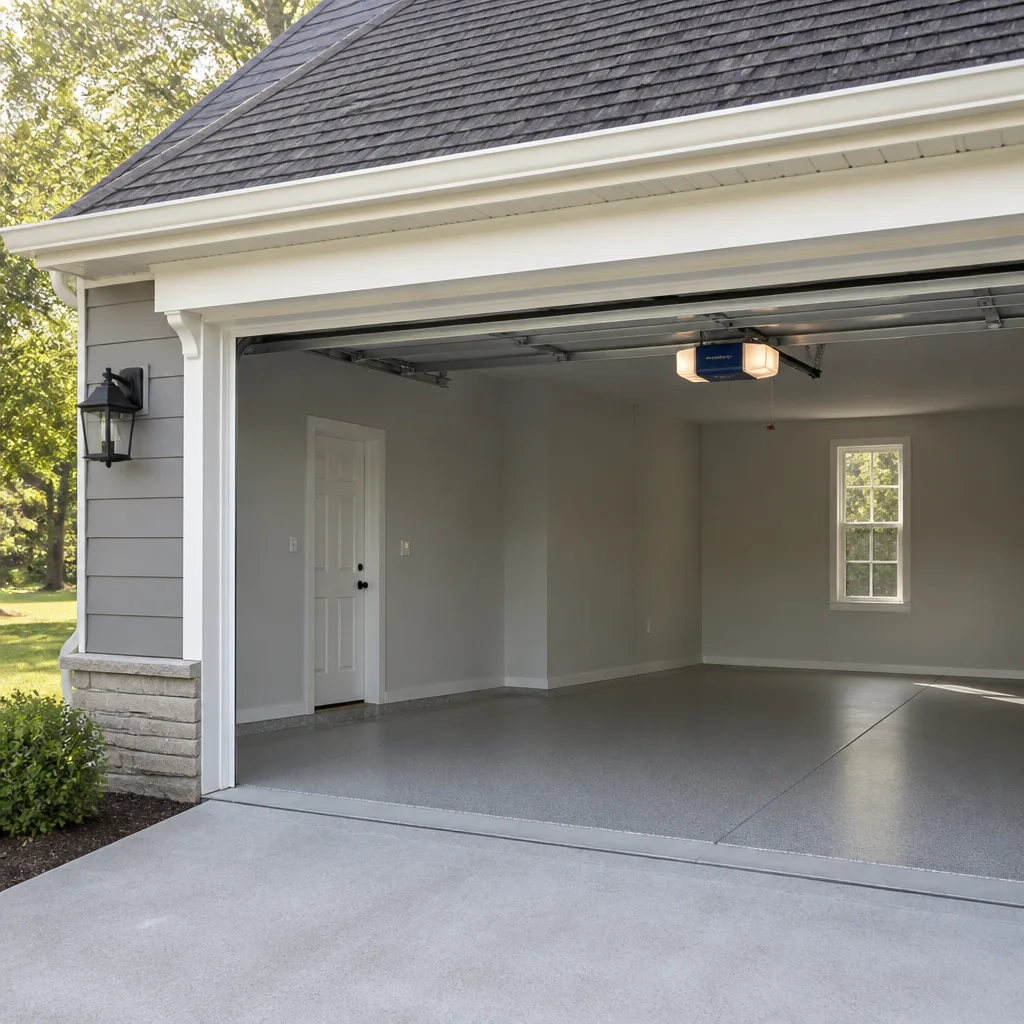 Chamberlain openers
Full 25-point door and opener safety check with every visit - springs, cables, rollers, tracks, and your LiftMaster or Chamberlain opener included
You get a price before we start. It does not change when the pro arrives.
Get your free estimateGarage Door Warning Signs: A Beverly Homeowner’s Reference Guide
A garage door that reverses unexpectedly isn’t misbehaving. It’s telling you something specific: the spring tension is off, the track is obstructed, or the opener’s force limit is quietly compensating for a mechanical problem that will only get worse. Most warning-sign guides stop at the symptom. They list the noises and the gaps and the blinking lights, then leave you to guess whether the issue is a Sunday afternoon annoyance or a genuine hazard. This guide does the opposite. We’ll sort the signs into three triage tiers, translate brand-specific fault codes into plain language, and explain what each symptom is actually pointing at. By the end you’ll know what to schedule, what to watch, and what to stop using today. Everything here applies to the doors we see across Beverly and the surrounding blocks.
Quick Answer
Garage door warning signs fall into three urgency tiers: stop using the door immediately (a snapped spring, a door that reverses on contact, a frayed cable, a door hanging crooked), schedule service within a week (grinding or popping that’s new, slow travel on the way up, a remote that only works up close), and monitor and log (a faint squeak, minor seal gaps, paint cracking at panel corners). The tier matters more than the symptom. A door that reverses on contact is a safety failure and should not be operated until a technician looks at it; a door that squeaks at the bottom of travel can wait for a scheduled visit.
Styles & brands we work with
- Raised-panel steel
- Carriage house
- Modern flush
- Full-view glass
- LiftMaster openers
- Chamberlain openers
Table of Contents
- The Three-Tier Triage Framework
- Warning Signs of Spring Failure
- Brand-Specific Warning Signs: LiftMaster, Chamberlain, Genie, and More
- Noise Diagnosis: Map the Location, Not Just the Sound
- The “Slow Up, Fast Down” Pattern You Should Never Ignore
- Visual Signs on the Door Itself
- Opener and Remote Warning Signs
- Common Mistakes to Avoid
- When to Call a Professional
- Frequently Asked Questions
The Three-Tier Triage Framework
Before you read a single symptom, understand the framework. Every warning sign on a garage door fits into one of three tiers, and the tier tells you what to do, not just what’s wrong. This is the part most guides skip, and it’s the part that actually protects your door, your car, and anyone standing in the driveway.
Tier 1 – Stop using the door immediately. These are signs that the door could fall, drop, or reverse on a person or pet. Do not operate the door, even manually, until a technician inspects it. Signs in this tier include:
- A visible gap or break in one of the torsion springs above the door
- A door that reverses when it contacts an object or a person
- A frayed, kinked, or slack lift cable, or a cable hanging off its drum
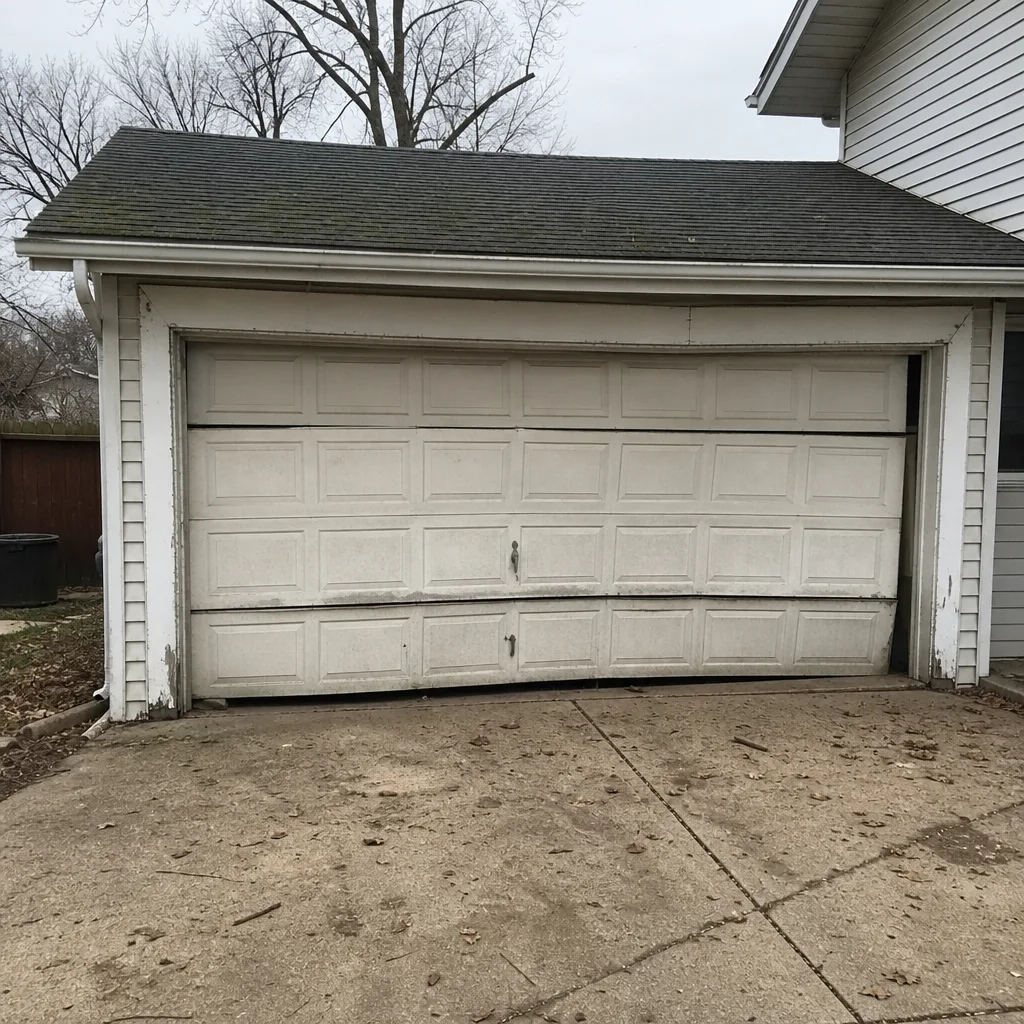
- A door hanging crooked, with one side visibly lower than the other
- A door that has fallen partway and will not raise
- A loud pop or bang from the door, followed by the door becoming very heavy to lift
Tier 2 – Schedule service within a week. These signs indicate wear or early failure that isn’t yet dangerous but will progress. Signs include new grinding or popping, a door that travels noticeably slower on the way up than down, a remote or keypad that only works from a few feet away, or a bottom seal with visible compression gaps. We handle these as scheduled repairs, and the price is quoted and agreed before any work starts.
Tier 3 – Monitor and log. These are cosmetic or minor signs worth recording but not acting on immediately: a faint squeak at one point in travel, minor paint cracking at panel corners, or a single slow spot that comes and goes with the weather. Log the date, note whether it’s worse in cold or damp weather, and bring the log to your next service visit. In Beverly, we find homeowners who track Tier 3 signs catch spring and panel problems earlier, because the log gives the technician a timeline.
Warning Signs of Spring Failure
Springs are the most dangerous component in your garage door system, which is why we treat them differently from everything else on this list. A torsion spring holds enough tension to move a door weighing hundreds of pounds, and when it fails, it releases all that energy at once. The signs of a spring nearing failure are subtle enough that most homeowners only notice them after the pop.
Here’s what to watch for:
- A visible gap in the coil. Look up at the torsion spring above the door (the horizontal spring on a rod) or the extension springs along the sides. A spring with a visible gap between coils, or one that looks stretched or twisted, is close to failing. Stop using the door.
- The “slow up, fast down” pattern. If the door lurches upward but drops quickly on the way down, the spring has lost tension and the opener is doing the lifting. That’s a warning sign of imminent failure (we cover this in full below).
- A door that’s suddenly heavy. Disconnect the opener and try to lift the door by hand (only if you can do it safely). A door that used to lift with one hand and now needs two or three is telling you the spring isn’t carrying its share.
- Cable slack. If the lift cable on one side has gone slack, the spring on that side isn’t holding tension. Slack cable is a Tier 1 sign; don’t operate the door.
- A loud pop or bang. If you hear a sharp report from the door and the door becomes very heavy to lift, the spring has snapped. Do not attempt to fix it, and don’t let anyone operate the door manually until a technician has been out.
One spring is replaced as one spring, but torsion springs on most residential doors are installed as a matched pair, and they’re usually replaced together. A matched pair costs about twice a single spring. If you’re unsure whether you’re looking at one spring or two, snap a photo of the spring assembly and show it to the technician. Our technicians have up to 11 years of experience with spring failures across every major door brand, and spring repair is a dedicated core service for us, not an upsell. If you want a deeper look at how a spring repair is priced in Beverly, our garage door repair page walks through the process.
Brand-Specific Warning Signs: LiftMaster, Chamberlain, Genie, and More
Openers from different manufacturers signal faults in different ways, and knowing what your opener is actually telling you saves a diagnostic step. We work with LiftMaster, Chamberlain, Genie, Clopay, Amarr, Wayne Dalton, Craftsman, and Raynor systems daily, and the patterns below are the ones we see most often.
LiftMaster and Chamberlain (myQ ecosystem)
LiftMaster and Chamberlain openers typically use a combination of blinking LED codes on the motor head and beeping patterns from the wall control or the safety sensors. A sensor alignment issue usually shows as a blink pattern on the sensor LEDs themselves; if the sensor’s amber or green light won’t settle, the beam is being interrupted. If the door reverses only when it’s near the floor, suspect a sensor problem before a force-limit problem. If the door reverses with a beep from the wall control, the opener’s travel limit or force adjustment has likely tripped, which on these units often means the door’s mechanical resistance has increased.
Genie
Genie units often show fault codes on the motor housing as a numbered light sequence. A code indicating the door won’t close usually points to a sensor or an obstruction; a code indicating an obstruction cycle points to a load problem. Genie systems are common in older homes, and when the opener starts reporting force faults on a Genie, we always check the door’s balance before touching the opener settings.
Craftsman and Wayne Dalton
Craftsman openers (often paired with Wayne Dalton doors in this region) frequently signal trouble with a flashing light on the wall control and a door that won’t complete a full cycle. On these older units, the fault is more often in the door than in the opener itself: a worn roller, a stiff hinge, or a spring that’s losing tension. This is where brand fluency matters. A generalist who treats the opener as the problem will adjust force settings and mask a door problem that needs a mechanical fix. When the opener and the door disagree, the door wins.
A quick brand-level truth: no opener should be adjusted to compensate for a door that’s hard to move. If a technician’s first move is to increase the force limit, ask why. On any of these eight brands, the real fix usually lives in the door, not the control board. If your opener is the failing component, our garage door opener repair page covers the repair path in detail.
Noise Diagnosis: Map the Location, Not Just the Sound
Homeowners describe garage door noise by type (grinding, squealing, popping), but type alone tells you very little. The useful diagnostic is the location: where in the door’s travel does the noise happen? A popping sound at the top of travel points somewhere different from a popping sound at the bottom, and a consistent mid-stroke grind is different again. Before you call, run the door slowly and note three things: the sound, the location in travel, and whether it happens going up, down, or both.
Top of travel
Noises at the top of travel usually point to the spring assembly, the drums, or the top section of the track. A bang or loud pop at the top of travel is a spring failure sign. A scrape at the top can be a track that’s shifted or a top roller that’s jumped.
Bottom of travel
Noises at the bottom often trace to the bottom seal, the bottom brackets, or the floor. A squeal as the door seats usually means the bottom seal is dragging or the rollers are dry. A hard thud at the bottom can mean the door is hitting the floor before the opener’s down limit cuts out.
Mid-stroke
Grinding or scraping mid-stroke is the classic sign of a track that’s out of alignment, a roller that’s flattened, or a hinge that’s dry or seized. Mid-stroke noise is usually a Tier 2 sign unless the door also hangs crooked, in which case it’s Tier 1.
Sound type does add information once you have the location. Squealing usually means a dry or worn component (rollers, hinges, bearings). Grinding suggests metal-on-metal contact, often in the track or a roller. Popping is the one to take most seriously, because popping at the spring or cable is a failure sign. When you log the noise for a technician, write it down like this: “Interior side, mid-stroke, grinding, going up only, started about a week ago.” That one line shortcuts half the diagnostic. In Beverly, the weather shifts from summer heat to winter cold, and we find doors that grind in one season and not the other are usually showing us a lubrication or track-expansion issue rather than a mechanical failure.
The “Slow Up, Fast Down” Pattern You Should Never Ignore
This is the warning sign most homeowners ignore, and it’s the one we wish more people caught early. Here’s the pattern: the door rises slowly, almost reluctantly, but drops fast on the way down. The difference is noticeable enough to be felt, not just heard. If your door does this, it’s telling you the spring has lost tension and the opener is doing the lifting.
Why does this matter? The spring is designed to counterbalance the weight of the door. When the spring is working, the door feels nearly weightless to the opener and to your hand. When the spring has relaxed or started to fail, the opener has to work much harder to raise the door. On the way down, the door is falling with gravity, which is why it speeds up. The pattern is a lead indicator of spring failure, and it typically shows up weeks or even a month before the spring actually breaks.
Here’s what to do if you notice the pattern:
- Stop using the door for anything but essential trips. The spring is under load and closer to failure than it was last week.
- Do not adjust the opener’s force setting to compensate. Increasing force on a failing spring pushes the opener past its design limits and can burn out the motor or, worse, snap the spring under load.
- Schedule a spring inspection with a technician. This is a Tier 2 sign, and it’s worth a scheduled visit now rather than an emergency call later.
- Clear the area beneath the door. A spring failure drops the door; keeping the driveway and the path under the door clear protects anyone standing there.
We can’t say a door with the pattern will fail on a given day; no one can. But the pattern is a real signal, and the failure it predicts is dangerous. A snapped spring is a Tier 1 event and the door should not be operated until it’s repaired. If you’re in Beverly and the pattern sounds familiar, our Beverly Garage Door Repair Pros team can look at it before it turns into a snap. Call (888) 762-7611 for a free estimate; we answer 24/7.
Visual Signs on the Door Itself
Not all warning signs are noises. The door surface itself tells you about structural fatigue before it becomes a safety issue, and these signs are easy to check in about two minutes with a flashlight. Walk out to the door and look for the following.
Paint cracking at panel corners
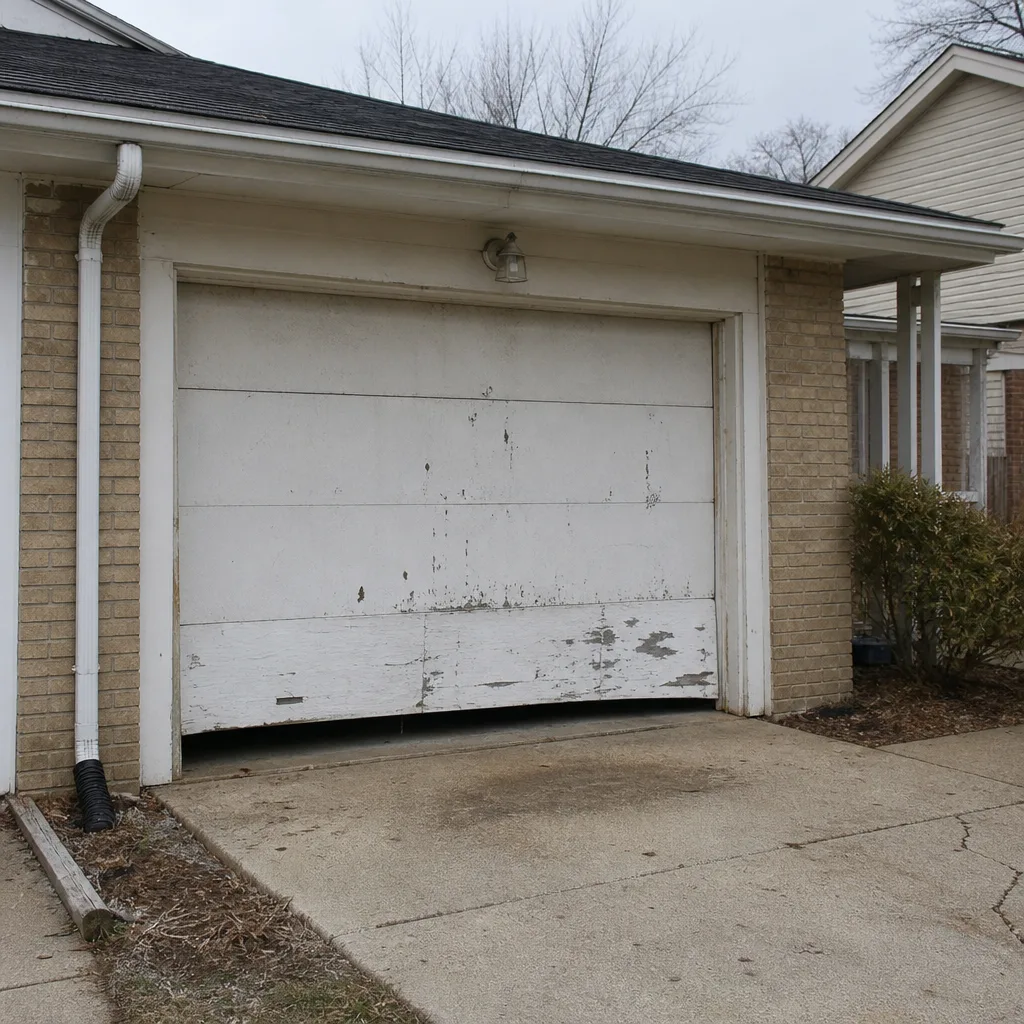
Paint that cracks in a pattern radiating from the corners of a panel is a sign of flex. The panel is moving more than it should, usually because a hinge or roller is worn or because the door is out of balance. On a Clopay or Amarr steel door, corner cracking is a good early indicator that the panel is fatiguing. Left alone, a flexing panel can crack through the steel. Note whether the cracking is at one panel or several; several panels crack together when the whole door is misbalanced.
Bottom seal compression gaps
The bottom seal is a rubber or vinyl strip along the bottom edge of the door. When the door closes, the seal should compress evenly against the floor. Daylight visible under the seal, or a seal that’s flat on one side and compressed on the other, is a sign of one of two problems: the door isn’t sitting level (a balance issue), or the floor isn’t level (which is common in older Beverly homes with settled concrete). A single daylight strip under a perfectly level door is usually the floor, and a replacement seal with a taller profile handles it. A daylight strip wider on one side is a balance problem and needs a technician.
Daylight strips along the sides
Daylight between the door and the frame, especially at the top corners, can indicate that the track has shifted or the door has warped. On an older Wayne Dalton door, a slight bow at the top panel is common and worth a look but not necessarily urgent; on a newer door, daylight at the sides usually means a track alignment issue that’s easiest to fix early.
Dented or creased panels
A single dented panel isn’t a structural problem. A door with multiple creased panels, or a panel that has visibly bent along its horizontal seam, is a different story. Creasing means the panel has lost its stiffness and the door’s balance is compromised. That’s a Tier 2 sign at minimum, and if the door also hangs crooked, it’s Tier 1.
Our technicians have up to 11 years of experience reading these visual signs on every major door brand, and we’ll tell you straight whether it’s a seal replacement, a panel repair, or a track adjustment. If the door is past repair, we handle garage door installation as well, so you don’t need to call a second contractor to finish the job.
Opener and Remote Warning Signs
The opener is often blamed for problems that start at the door. These signs are the ones that actually point to the opener itself. We work on LiftMaster and Chamberlain systems (both Wi-Fi and app-integrated) alongside legacy Genie and Craftsman units, so the diagnostics below cover both modern and older homes.
- The remote only works from a few feet away. This usually means a weak battery, a damaged antenna wire on the opener, or interference from LED bulbs or nearby electronics. Start with the battery; if a fresh battery doesn’t fix it, the opener or its antenna needs a look.
- The wall control works, but the remote doesn’t (or vice versa). This points to a signal problem specific to one control path, often a bad receiver or a remote that’s lost its pairing.
- The safety sensors won’t settle. If the sensor LEDs flicker or won’t hold steady, the beam is being interrupted. Check for cobwebs, a misaligned bracket, or a sensor that’s been bumped. If the sensors hold steady and the door still reverses, the problem is in the door, not the sensor.
- The door reverses on its own after closing. On a LiftMaster or Chamberlain, this is often a travel-limit issue or a force-limit trip. On a Genie, it’s often a fault code. Either way, don’t just reset it; have someone check whether the door’s resistance has increased.
- The opener runs but the door doesn’t move. This usually means the door is disconnected from the opener (the manual release has been pulled) or the drive gear or belt has failed. Check the manual release first; if the door is reconnected and still won’t move, the opener needs a technician.
- The opener hums and stops. A humming opener that won’t complete a cycle usually has a failing capacitor or a seized motor. Stop cycling it; continuing to try can damage the control board.
- The lights blink in a pattern you don’t recognize. Note the number of blinks and the brand. LiftMaster, Chamberlain, Genie, and Craftsman all use different blink patterns, and the count is the fastest path to a diagnosis.
If you’ve got a code you can’t decode, write down the brand, the blink count, and the door’s behavior, and call (888) 762-7611. A minute on the phone with a technician who knows the brand beats an hour of trial and error. We answer 24/7, and fast dispatch runs from 7am to 7pm, Sunday through Friday.
Common Mistakes to Avoid
- Adjusting the force limit to fix a slow door. Increasing the opener’s force setting masks a spring or balance problem and pushes the opener past its design limits. If the door is slow, the door is the problem, not the opener.
- Disconnecting a spring or cable to “take a look.” Torsion springs and lift cables are under extreme tension. Releasing one without the right tools and training can cause serious injury. Leave spring and cable work to a trained technician.
- Replacing a single spring when the pair is worn. Matched torsion springs wear at the same rate. Replacing one and leaving the other usually leads to a second failure within a short time, and often to a door that’s out of balance in the meantime. Ask the technician whether the pair should be replaced together.
- Ignoring a slight crooked hang. A door that’s a half inch lower on one side is easy to dismiss, but it’s one of the clearest early signs of a failing spring or cable. In Beverly, this is also the sign most often missed on older doors with original hardware.
- Assuming a blinking light means a sensor problem. It doesn’t always. On LiftMaster and Chamberlain systems, a blink pattern can indicate a force-limit trip or a travel-limit issue. Note the pattern before you start moving sensors.
- Trusting a generalist to diagnose by brand. An opener tech who doesn’t know LiftMaster from Genie logic will adjust settings by trial and error. Brand fluency speeds diagnosis and prevents unnecessary parts replacement.
- Waiting to schedule service on a Tier 2 sign. The whole point of the tier framework is that Tier 2 becomes Tier 1 if you wait. A grinding mid-stroke noise is a scheduled repair this week; a door that’s hanging crooked is a stop-using-the-door-today call.
When to Call a Professional
Call a professional the moment you see any Tier 1 sign: a snapped spring, a frayed or slack cable, a door that reverses on contact, a door hanging crooked, or a door that’s fallen and won’t lift. These are safety failures, and no amount of adjusting the opener or oiling the track will fix them. Call for any Tier 2 sign too, including new grinding or popping, the slow-up-fast-down pattern, an opener that won’t complete a cycle, or a remote that’s suddenly weak. And call if you’re simply unsure: a phone conversation with a technician who knows the brands is faster than watching the door and guessing. For a visual sign like corner cracking or a seal gap, a free estimate costs nothing and settles the question.
Beverly Garage Door Repair Pros offers free estimates in Beverly. Call (888) 762-7611; we answer 24/7, and fast dispatch runs from 7am to 7pm, Sunday through Friday. If a door fails on a Saturday, call and we’ll book you into Sunday. Our technicians have up to 11 years of experience, every hour of it spent on garage doors. The estimate is free, and the price is quoted and agreed before any work starts.
Frequently Asked Questions
The first sign is usually a change in how the door feels and sounds, not a visible break. The door becomes slow on the way up and fast on the way down, and it feels heavier if you disconnect the opener and lift it by hand. A visible gap in the spring coil or a loud pop followed by a very heavy door means the spring has already failed. Stop using the door and call (888) 762-7611 for a free estimate.
It’s often a sensor problem, but not always. If the safety sensors are misaligned or blocked, the door reverses as a safety response; a quick check of the sensor LEDs on a LiftMaster, Chamberlain, Genie, or Craftsman unit tells you whether the beam is being interrupted. If the sensors are clean and aligned and the door still reverses, the opener’s force limit is likely compensating for increased resistance in the door, which points to a spring or balance problem. Call us and we’ll sort out which one it is.
Lubrication helps some noises (dry rollers, hinges, and bearing plates), but it doesn’t fix popping, which usually indicates spring or cable stress, or grinding, which usually means metal-on-metal contact in the track. The useful step before you lubricate is to map the noise: top of travel, bottom of travel, or mid-stroke, and up, down, or both. Note that and a technician can tell you whether it’s a lubrication job or a repair. Call (888) 762-7611 with the details.
Different brands use different signals. LiftMaster and Chamberlain typically use a blink pattern on the motor head or wall control; Genie often uses a numbered light sequence; Craftsman usually flashes a light on the wall control. Note the brand, the number of blinks or flashes, and whether the door reverses, stops, or won’t move at all. That’s enough information for a brand-literate technician to diagnose by phone. If you’re in Beverly, call (888) 762-7611 and we’ll translate the code for you.
Older Beverly doors most often show three signs: a crooked hang (one side lower, pointing to a tired spring or a slack cable), corner paint cracking on steel panels (pointing to flex from worn hardware), and daylight gaps at the bottom seal (often the concrete floor settling, not the door). On the opener side, the common sign is a remote that only works up close, often on a legacy Genie or Craftsman unit that’s due for a receiver or battery. Our technicians have up to 11 years of experience on both older and modern systems, so we can check all of these in one visit.
No. The price is quoted and agreed before any work starts, and the written estimate sets the final price. If the technician finds a second issue during the inspection (a cracked panel behind a bad seal, for example), they’ll show you and quote it separately; the original repair price doesn’t change. Free estimates make this low-risk. Call (888) 762-7611 to set one up in Beverly.
The Bottom Line
Warning signs aren’t all equal, and treating them as if they are is the biggest mistake. A door that reverses on contact or hangs crooked is a stop-using-it-today problem; a grinding mid-stroke noise is a schedule-this-week problem; a faint squeak is a monitor-and-log problem. Map the noise by location, not just type. Watch for the slow-up-fast-down pattern, because it’s the quiet lead indicator of spring failure. Read your opener by brand, not by guesswork. And look at the door surface for the paint cracking, seal gaps, and daylight strips that tell you about fatigue before it becomes a safety issue.
If any of the signs in this guide sound familiar, the fastest next step is a conversation. Call (888) 762-7611 for a free estimate in Beverly. We answer 24/7, dispatch runs from 7am to 7pm, Sunday through Friday, and we’re closed on Saturday. The price is quoted and agreed before work starts. If you’re not sure which tier you’re in, a free estimate in Beverly settles it.
Written by the team at Beverly Garage Door Repair Pros.
See the difference
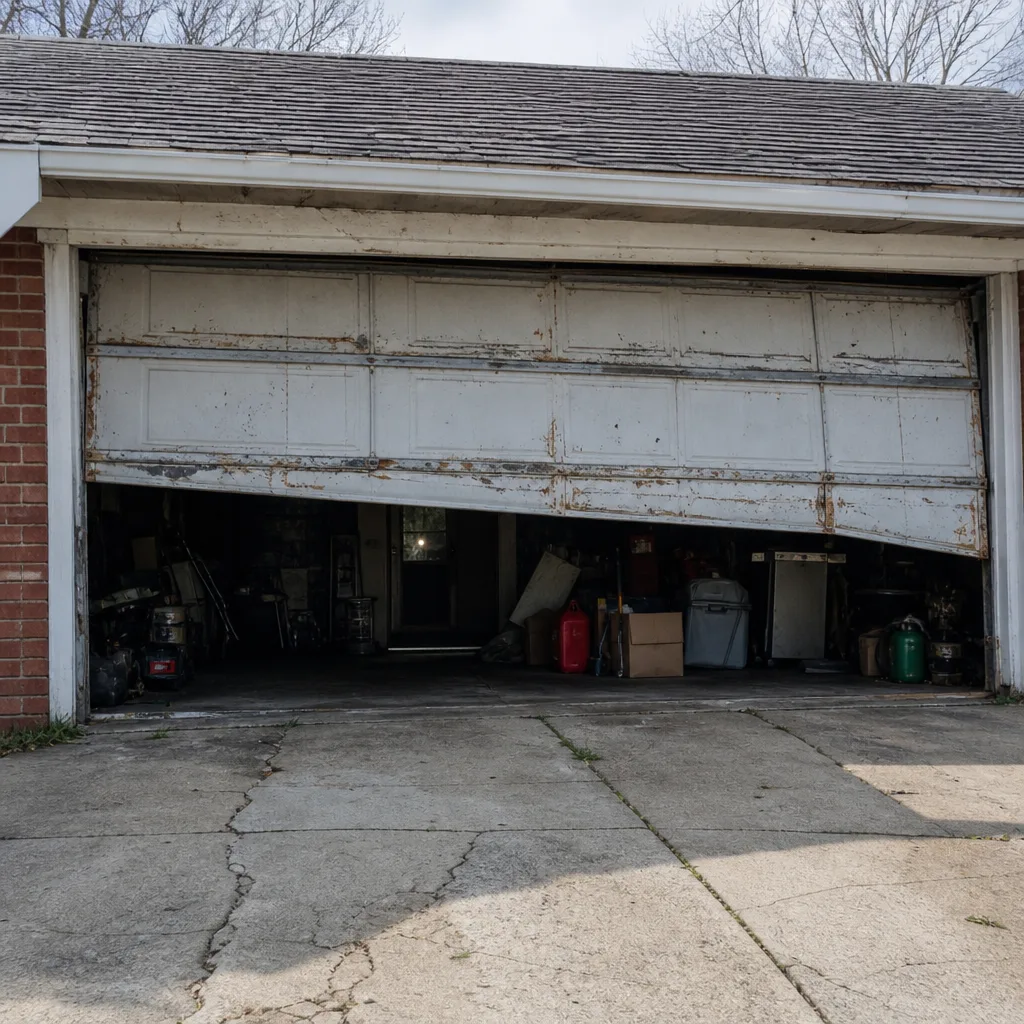 Before
 After
 Before
 After
 Before
 After