
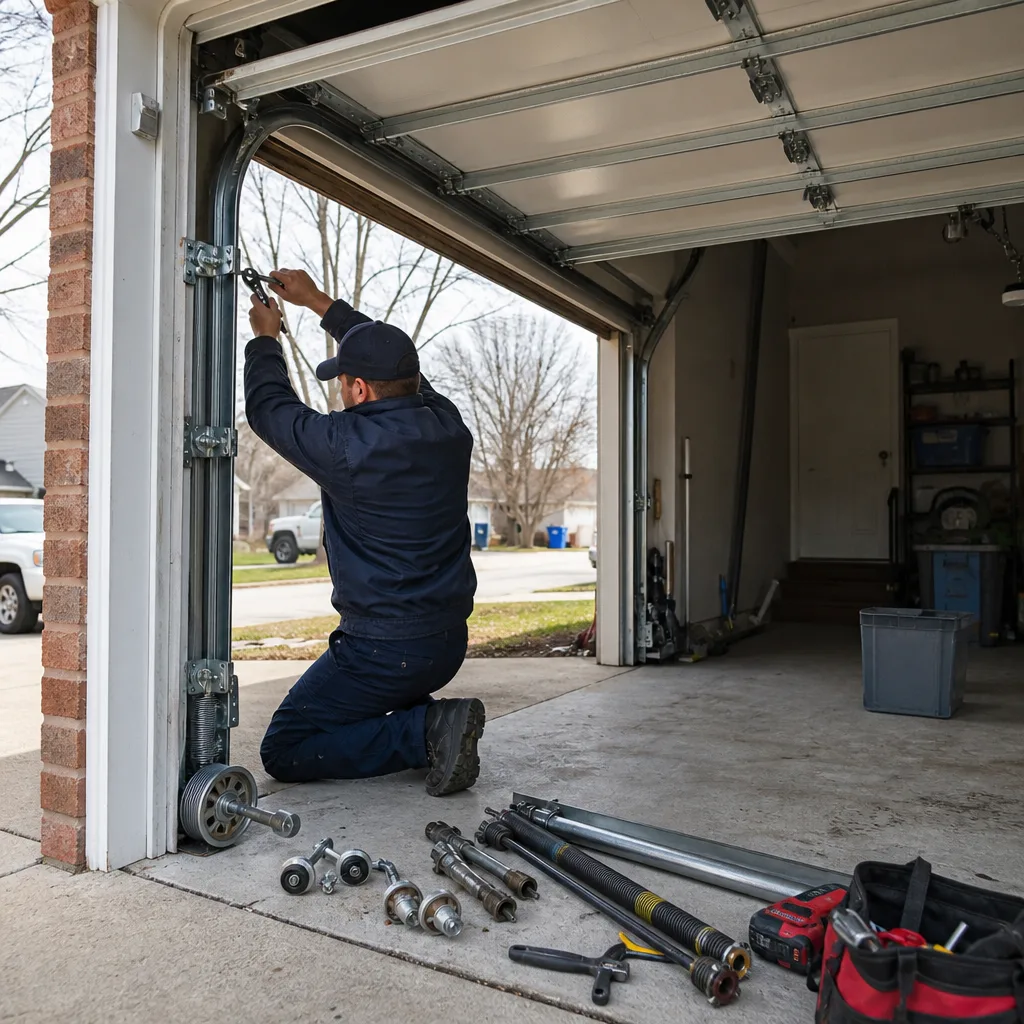
Last updated November 21, 2026
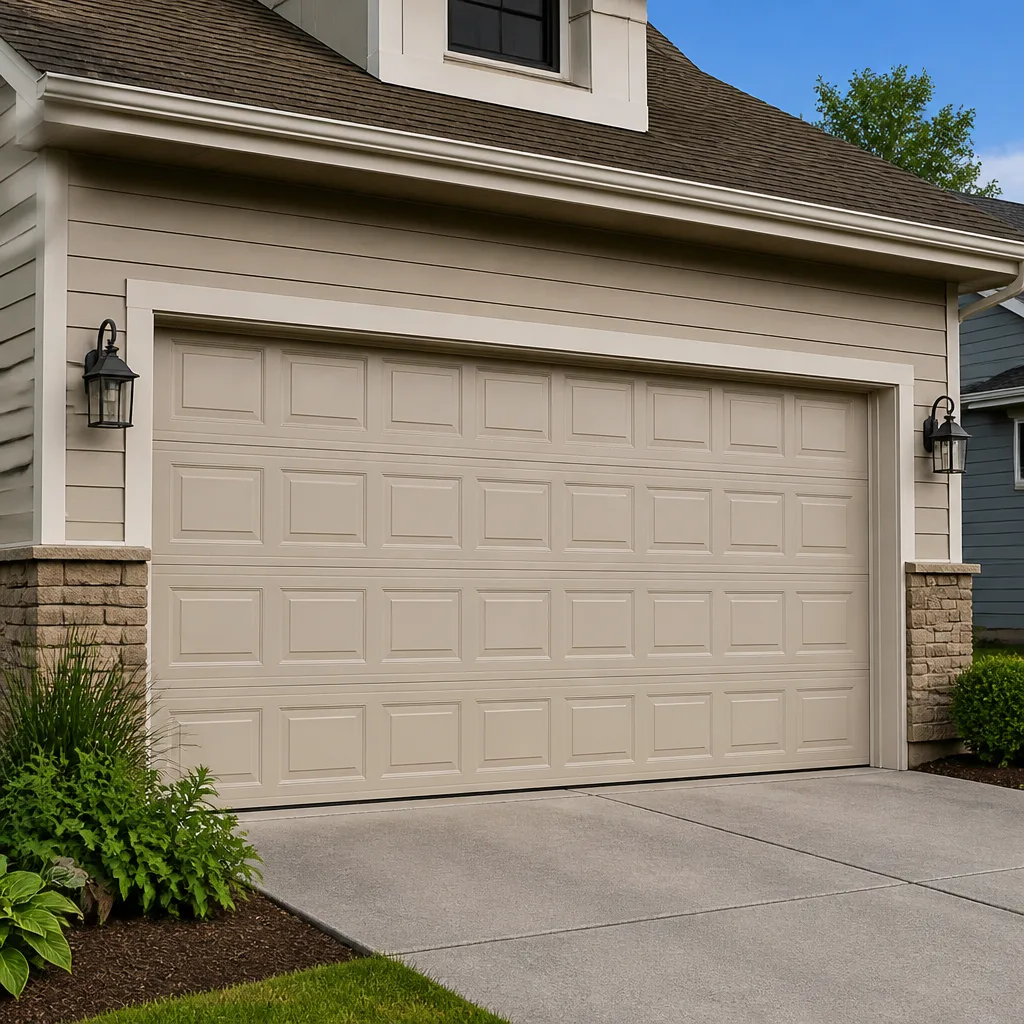 Raised-panel steel
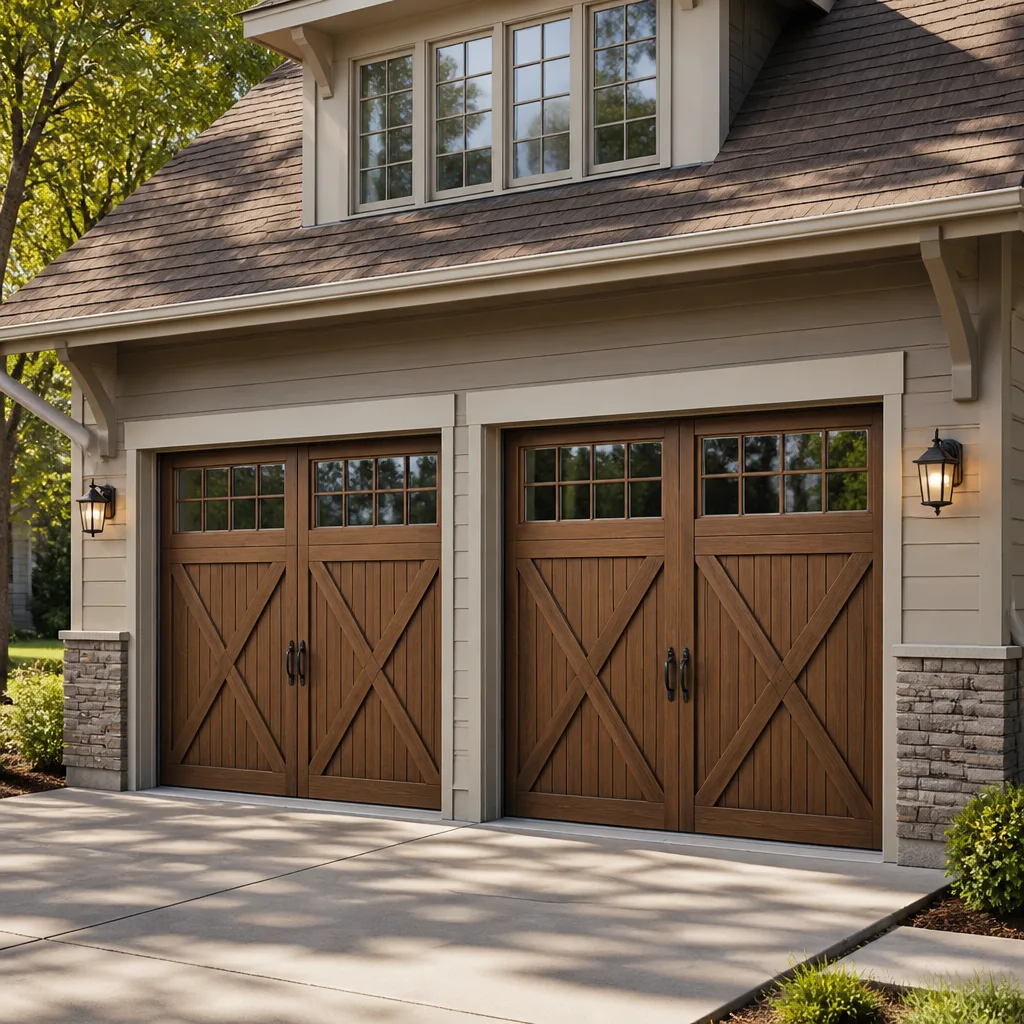 Carriage house
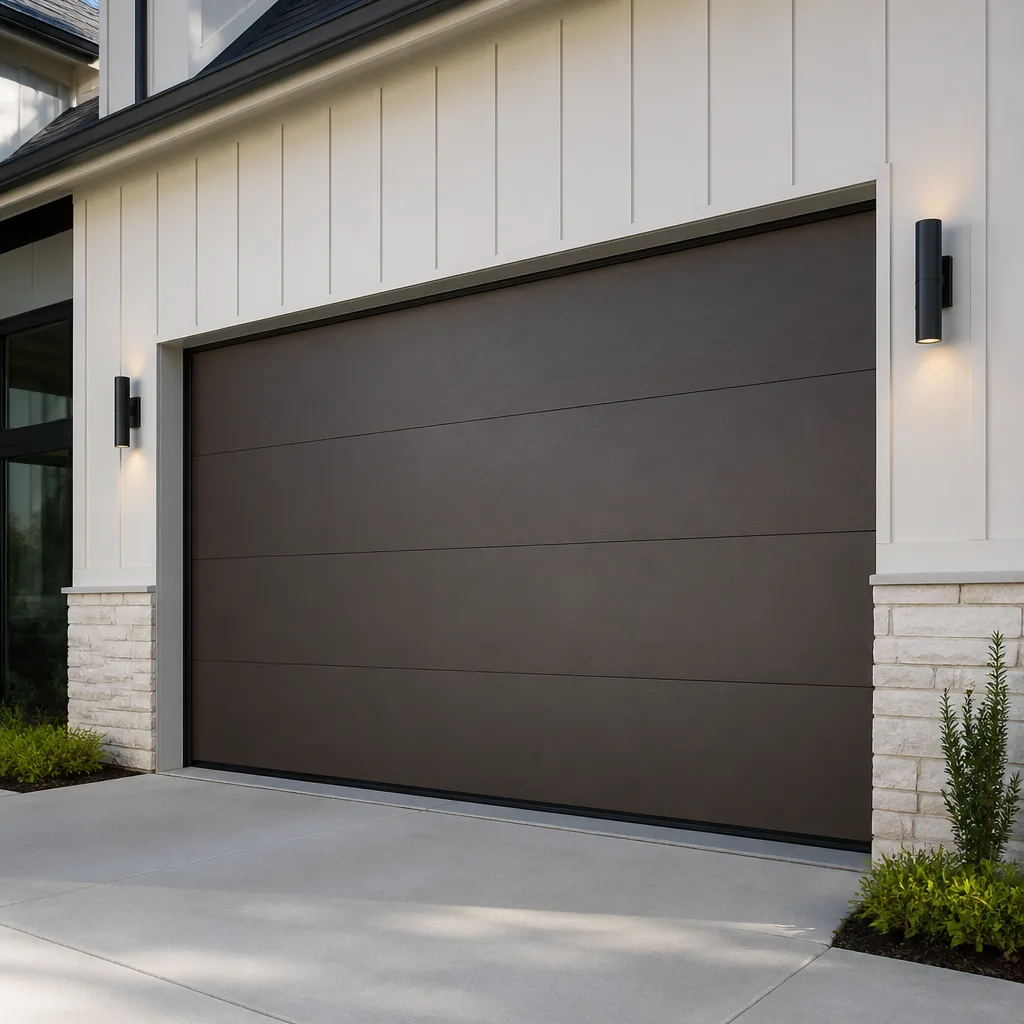 Modern flush
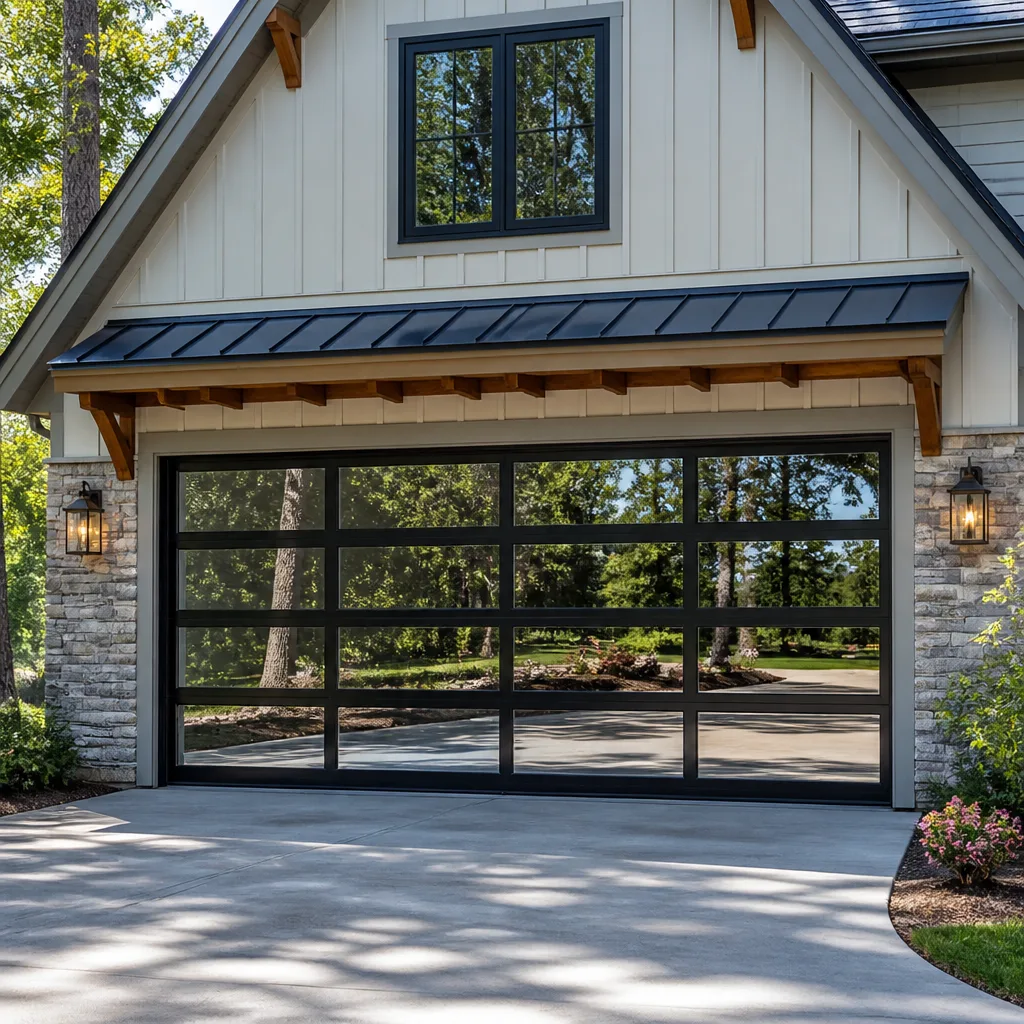 Full-view glass
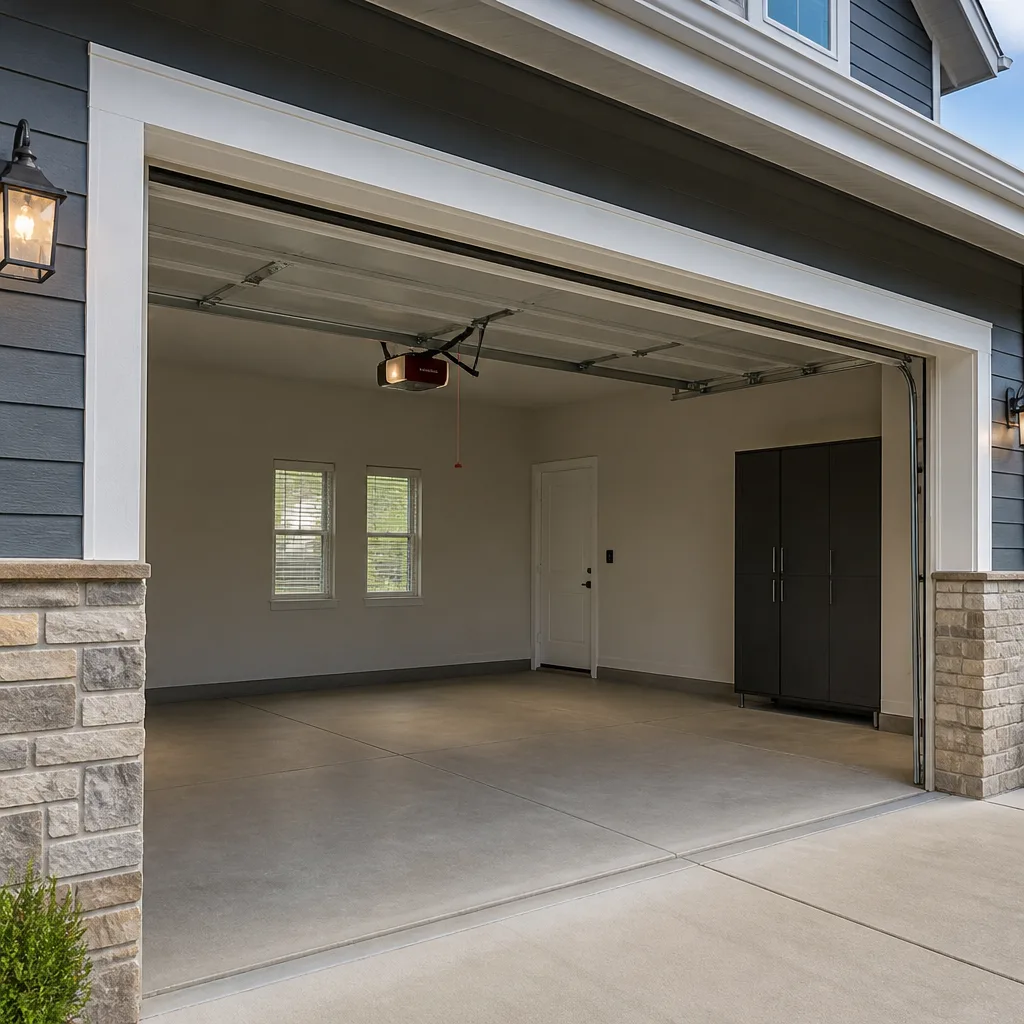 LiftMaster openers
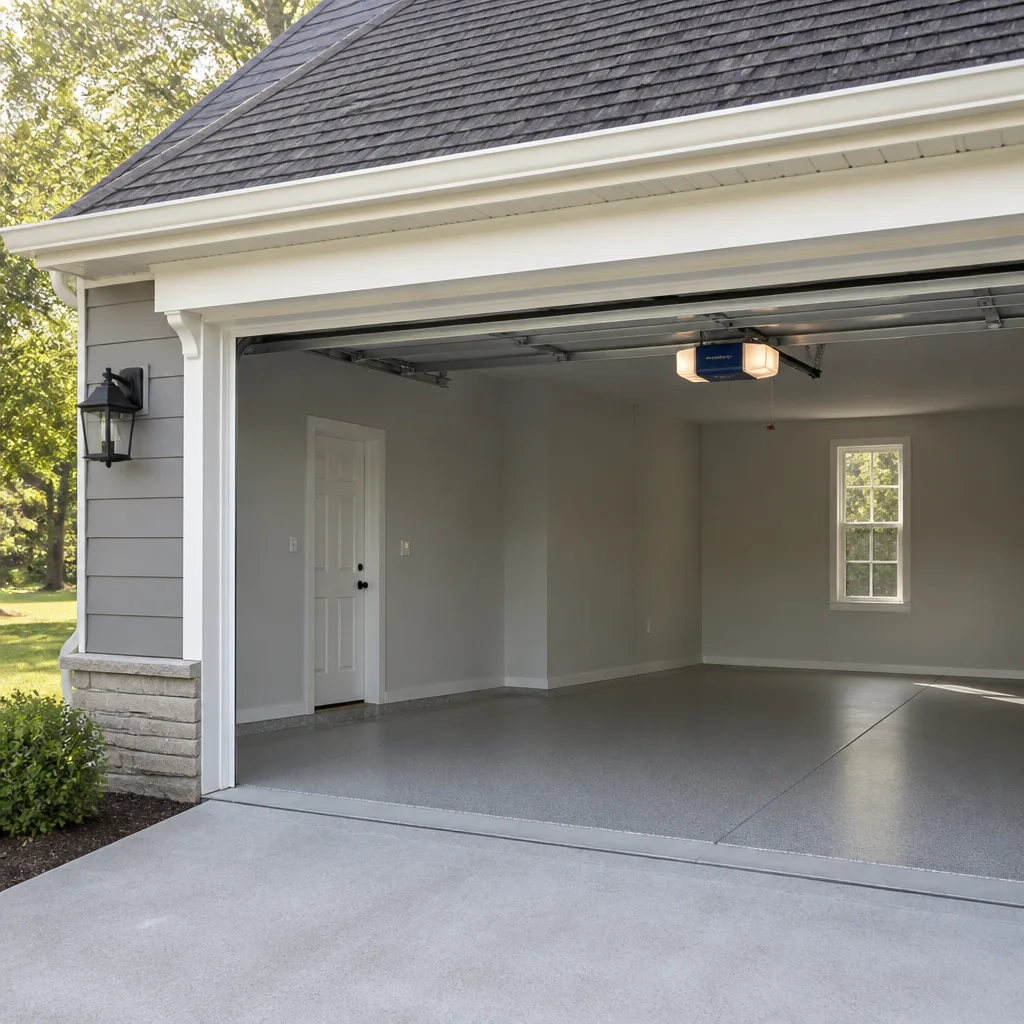 Chamberlain openers
Full 25-point door and opener safety check with every visit - springs, cables, rollers, tracks, and your LiftMaster or Chamberlain opener included
You get a price before we start. It does not change when the pro arrives.
Get your free estimateGarage Door Repair Maintenance Checklist for Beverly Homeowners
Most homeowners assume garage door springs wear out from age. In our experience, the number one cause of premature spring failure is an out-of-balance door that nobody noticed, because a modern opener is strong enough to drag a binding door up and down for months without complaint. By the time the spring snaps or the opener burns out, the damage started somewhere else entirely. A maintenance checklist only works if it’s sequenced the way a technician actually inspects a door: balance first, hardware second, springs third, opener last. That order catches a failing roller before it destroys a torsion spring. This guide walks through that sequence for Beverly homes, including the specific wear patterns that show up in town.
Quick Answer
A proper garage door maintenance routine starts with a 90-second manual balance test, followed by a hardware inspection, a targeted lubrication pass, a spring wear check, and an opener review, roughly every six months. The balance test comes first because an unbalanced door quietly overloads both the springs and the opener, so fixing hardware and lubrication before checking balance means you’re tuning a system that’s still fighting itself. This checklist is built in the order we inspect, so each step builds on the one before it.
Styles & brands we work with
- Raised-panel steel
- Carriage house
- Modern flush
- Full-view glass
- LiftMaster openers
- Chamberlain openers
Table of Contents
- Why Inspection Order Matters More Than the Checklist Itself
- The 90-Second Balance Test That Comes Before Everything Else
- Hardware and Track Inspection: Rollers, Hinges, and Cables
- Lubrication: What Gets Silicone Spray, What Gets White Lithium Grease
- Spring Wear Indicators: What to Look For Before a Break
- Opener Checks: Safeties, Force Settings, and Brand-Specific Quirks
- Beverly-Specific Wear Factors: Road Salt and Alley Traffic
- Building a Service Record Any Contractor Can Read
Why Inspection Order Matters More Than the Checklist Itself
Most printed maintenance checklists are organized alphabetically or by component category, which is tidy on paper and useless in practice. A garage door is a mechanical system under constant tension, and the components load each other. If a roller is seized, the door drags, the springs work harder, and the opener compensates by pushing more current through its motor. Check the opener first and you’ll write down “opener runs hot” without ever finding the seized roller. Check the balance first, and the rest of the inspection falls into place.
Here’s the order we work in, and the logic behind it:
- Balance test. Reveals whether the door is mechanically neutral or fighting itself. Everything downstream is more accurate once you know this.
- Hardware and tracks. Rollers, hinges, cables, and the vertical and horizontal tracks. These are the friction sources that unbalance a door.
- Lubrication. Applied only to parts that are confirmed healthy. Lubricating a worn roller just hides the wear.
- Springs. Inspected visually once the door is balanced and moving freely, because a binding door tells you nothing reliable about spring condition.
- Opener. Tested last, because its force settings and safety reverse behavior should be evaluated on a door that’s already moving correctly.
Doing it in this order takes about the same time as a random walk through the components, but the findings are actually trustworthy. In Beverly, where many homes have older doors that have never been professionally serviced, this sequence is often what turns up the first real problem.
The 90-Second Balance Test That Comes Before Everything Else
The balance test is the single most useful thing a homeowner can do on a garage door, and almost nobody does it. It takes about 90 seconds and tells you whether your opener is quietly working against a door that’s out of balance.
- Close the door completely and disconnect the opener. Pull the red emergency release handle. The door should now move by hand.
- Raise the door to about halfway, roughly waist height. Let go. A properly balanced door should stay put or drift only slightly.
- Watch what happens. If the door falls, the springs are losing tension or are undersized. If it rises on its own, there’s too much spring tension or a cable issue. Neither is a fix-it-yourself situation, but both tell you what to investigate next.
- Reconnect the opener and test the door through a full open-close cycle. If the opener strains, hesitates, or reverses unexpectedly, the balance problem is still present.
An unbalanced door makes the opener do the springs’ job. The opener is designed to lift a balanced door, not to drag a heavy one. When the springs weaken and the door goes out of balance, the opener motor and gear assembly wear faster, and on beltdrive LiftMaster and chain-drive Craftsman units, this typically shows up as a motor running hot or a door that reverses without warning. That’s why the balance test is step two on this checklist, not an afterthought at the end. If the door fails this test in either direction, stop the rest of the checklist and treat it as a repair.
Hardware and Track Inspection: Rollers, Hinges, and Cables
Once you know the door is balanced, look at the hardware. This is where inexpensive parts fail quietly and take expensive parts with them. A seized roller is a few dollars in parts. If it drags the door for a season, it can wear the hinge, stress the cable, and force the springs to carry more tension than they should.
- Rollers. Spin each roller by hand. It should turn freely and quietly. Flat spots, cracked nylon, or metal rollers that grind need replacing. Metal rollers on older Wayne Dalton doors are a common source of noise that sounds like a bigger problem than it is.
- Hinges. Look for loose screws, bent plates, or cracks radiating from the screw holes. Tighten what’s loose; replace anything bent or cracked.
- Lift and safety cables. Run your eyes along each cable looking for frayed strands, kinks, or rust. A frayed cable can snap without warning and is never a DIY replacement.
- Track alignment. The door should have a small, even gap between the rollers and the track on both sides. A dented or misaligned track will bind the door and give you a false reading on the balance test.
- Bottom bracket and end plates. Check for rust and stress cracks. In Beverly, this is often where the first corrosion shows up.
If the door rattles loudly on the way up and down but the balance test passes, the hardware is usually the culprit. That rattle is friction, and friction is what eventually overloads the springs.
Lubrication: What Gets Silicone Spray, What Gets White Lithium Grease
Lubrication is the most misunderstood part of garage door maintenance, mostly because people reach for whatever can is in the garage. The wrong product can attract grit, gum up the tracks, and mask wear. Here’s what actually goes where:
- Silicone spray: torsion springs, the spring bearing plates, and the hinges (as a light touch). Silicone dries without leaving a sticky film that grips dust.
- White lithium grease: the opener’s rail and the opener’s drive screw on screw-drive Genie units. Grease stays put under the heavier load of the drive mechanism.
- Never on the tracks. Garage door tracks are meant to run dry. Lubricated tracks collect dirt and grit, which binds the rollers and creates exactly the drag you’re trying to prevent.
- WD-40, the standard spray version: not a garage door lubricant. It’s a solvent and light oil that evaporates, strips whatever protection was on the part, and does nothing long-term for a roller or hinge. It’s fine for loosening a rusted bolt you’re replacing, and it’s the wrong tool for the door itself.
Apply one pass of silicone to the springs and a light touch to the hinges every six months. Do not over-lubricate. A heavy coat of anything attracts grit. If the door is still noisy after a proper lubrication pass, the noise is coming from a worn part, not a dry one. That distinction is one a lot of homeowners miss, and it’s worth knowing before you decide the door needs replacement when it really needs a roller swap.
Spring Wear Indicators: What to Look For Before a Break
Springs are the most dangerous component on the door and the one that fails most dramatically. The good news is that torsion springs usually give warning signs before they snap, if you know what to look for. Every check below is visual only. Never try to adjust, loosen, or remove a spring yourself. A wound torsion spring stores enough energy to cause serious injury, and that’s not an exaggeration or a sales line, it’s a physical fact. If you suspect a spring problem, stop looking and call a technician.
- Gaps in the wind count. Look at the coils. They should be evenly spaced along the spring. A widening gap means the spring is unwinding unevenly or was installed incorrectly. Compare the gap on the left side to the right side if you have two springs.
- Rust pitting. Surface rust is normal in a climate with winter road salt; pitting that feels rough or looks like the metal is flaking is a sign the spring is thinning. A pitted spring is a spring that’s going to break sooner than later.
- End-cone cracks. Look where the spring winds into its cast end cone. Hairline cracks there are a hard stop. That’s a spring about to fail.
- Stretched or loose spring over an open door. Springs shouldn’t look slack with the door closed. If they do, the wind count is wrong or the spring is fatigued.
In Beverly, the strongest predictor of early spring failure is not spring age. It’s an out-of-balance door that ran for months because the opener covered for it. Springs bear the door weight every time the door moves. When an unbalanced door forces them to carry more, they fail faster. That’s why this section comes after the balance test in this checklist, not before it.
Opener Checks: Safeties, Force Settings, and Brand-Specific Quirks
The opener gets tested last because it should be evaluated on a door that already opens and closes smoothly. If the opener is the only thing you check, you’ll often misdiagnose a hardware problem as an opener problem, which is where guesswork starts and good parts get replaced for no reason.
- Test the safety reverse. With the door closing, wave an object under the door near the floor. The door should reverse. If it doesn’t, that’s a safety issue and a stop-the-checklist moment.
- Check the photo-eye alignment. The two sensors at the bottom of the track should have a solid light with nothing in the path. A blinking light usually means misalignment, dirt, or a sun strike. In Beverly, low winter sun on a south-facing door can trip the safety eyes at certain times of day, which is a common source of “my door won’t close” calls.
- Listen to the opener at it works. Grinding, clicking, or a motor that sounds strained under load usually points to a worn drive gear, a worn rail, or a force setting that’s compensating for a door problem upstream.
- Review your opener’s app or wall control for error codes. LiftMaster and Chamberlain myQ units will usually log a travel or force fault that tells a technician exactly where to look.
If the door moves smoothly by hand and the opener still acts up, the problem is in the opener or its settings. If the door is stiff by hand and the opener acts up, the problem is the door, and the opener is telling you about it. Only the first situation is a garage door opener repair in the usual sense. We work on LiftMaster, Chamberlain, Genie, and Craftsman systems regularly, and that distinction is where most of the diagnosis happens.
Beverly-Specific Wear Factors: Road Salt and Alley Traffic
Beverly homes tend to share a couple of wear factors that a generic checklist won’t mention. The first is road salt migration. Traffic down the alleys and side streets throws fine salt spray onto the lower door panel, the bottom bracket, and the lower rollers. That salt spray is what accelerates corrosion on the bottom bracket, the hinges, and the lower rollers on a predictable timeline, and it moves up the door from the bottom. If you inspect a Beverly door and notice that corrosion is concentrated at the bottom and everything above it looks fine, that’s not a coincidence. That’s salt spray doing its work.
The second is alley traffic itself. Doors on alleys take more wind and weather on their exterior panel and get hit more often by debris. A dented bottom panel is common on alley-facing doors, and a dent can throw the door out of balance, which puts you right back at step two of this checklist. The third is winter. A frozen door is a door that strains its opener every morning for two months, and freezing condensation in the track is a reason to check the rollers more often in cold weather than in summer.
Nothing here means Beverly doors are doomed. It means the timeline for inspecting bottom brackets and lower rollers is shorter than the generic advice assumes. If you live near an alley entrance, check the bottom bracket and lower rollers every few months.
Building a Service Record Any Contractor Can Read
A service log is the simplest maintenance habit that pays off in a repair. It’s a one-page record of what you checked, what you found, and what you did about it. The format doesn’t matter much. What matters is that it’s readable by someone else.
- Date and door age. Note when the door was installed or when you first started logging.
- Balance test result. Pass, fail, or drift direction. This is the single most useful line in the log.
- Hardware findings. Rollers replaced, hinges tightened, tracks adjusted.
- Spring condition and wind count. If you have a photo of the spring and the wind count, log it.
- Opener observations. Any error codes, app alerts, or unusual sounds.
- Who did the work and what part brands were used. This matters for warranty coverage and for the next technician’s diagnosis.
The reason to keep this record is practical. A door that fails is often a door that was serviced before, and knowing what was done when can save a technician time, which saves you money. It also matters if the door ever causes damage to a car or property. Insurance claims move faster when there’s a written history, and a log with dates and service visits is exactly what a claims adjuster will ask for. A two-minute habit every six months is a real record. No record is a guess.
Common Mistakes to Avoid
- Testing the opener before the balance. If the door is out of balance, the opener’s behavior tells you nothing reliable, and you’ll end up replacing an opener that’s actually fine. Test the balance first, every time.
- Spraying WD-40 on tracks and hinges. It strips lubrication, attracts grit, and does nothing lasting. Use silicone spray on springs and hinges and leave the tracks dry.
- Lubricating the tracks at all. Dry tracks are correct tracks. Greased tracks collect grit and create drag that wears the rollers faster.
- Ignoring an unbalanced door because “the opener still lifts it.” That’s exactly the problem. The opener is covering for the door, and the springs are failing inside the housing while it does.
- Replacing hardware but skipping the spring inspection. A seized roller can stress the spring over time. A hardware swap without a spring check leaves the danger in place.
- Adjusting torsion springs yourself. Never. A wound spring can cause serious injury in an instant, and it’s the one thing on this list that should never be a homeowner project.
- Skipping the log because “it’s just a garage door.” The log is what tells the next repair what happened last, and it’s the record an insurer will want if the door damages a car.
When to Call a Professional
Call a professional when any of these are true: the balance test fails and the door falls or lifts on its own; you see a crack at the spring’s end cone or the spring looks pitted; a cable is frayed; the safety reverse doesn’t work; the door reverses on its own during normal use; or the door is off its track entirely. Any of these is a job for a trained technician, not a homeowner project. Springs carry a dangerous amount of stored energy, and a mis-tensioned door can go from a fixable problem to a serious injury in a second. Our technicians have up to 11 years of experience, and spring repair is a dedicated service for us, not something we hand off. When you’ve inspected and found something you’re not sure about, call Beverly Garage Door Repair Pros at (888) 762-7611 for a free estimate. We answer 24/7, and fast dispatch from 7am to 7pm runs Sunday through Friday.
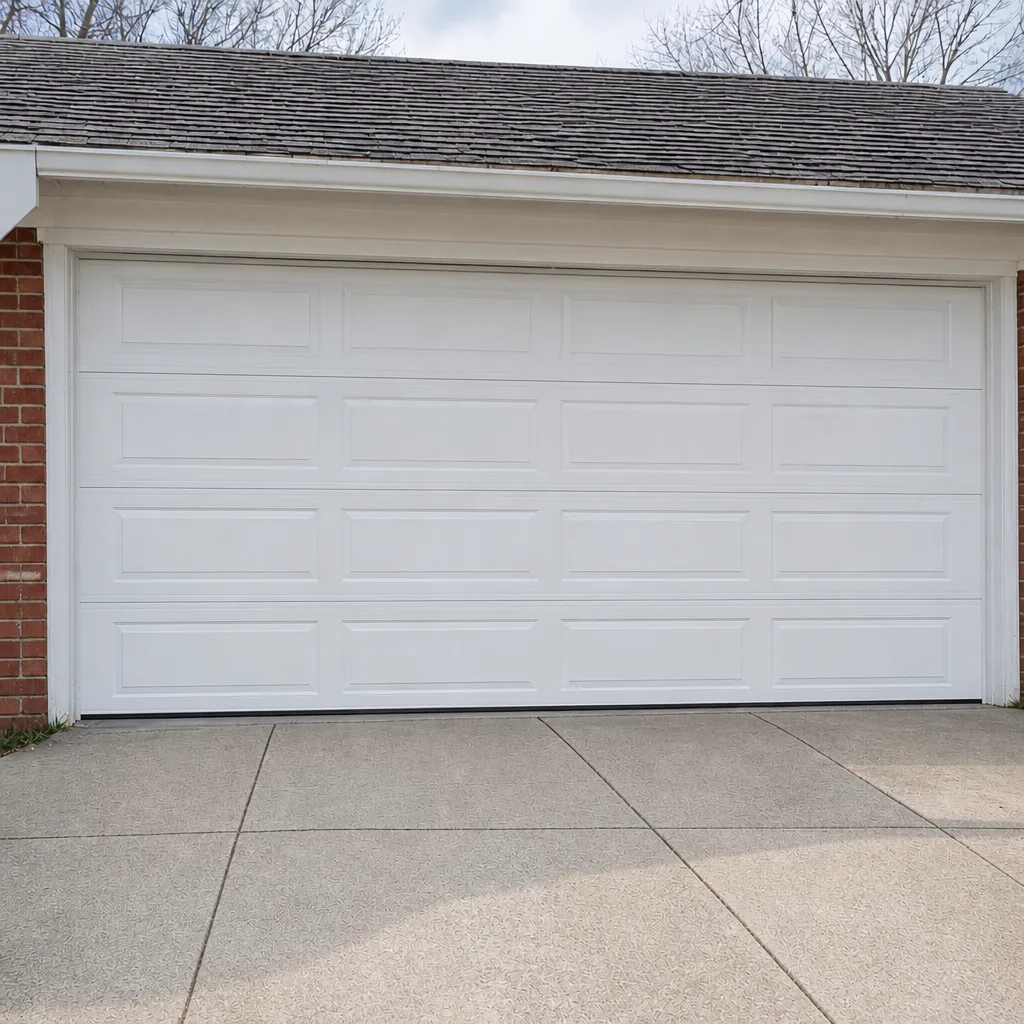
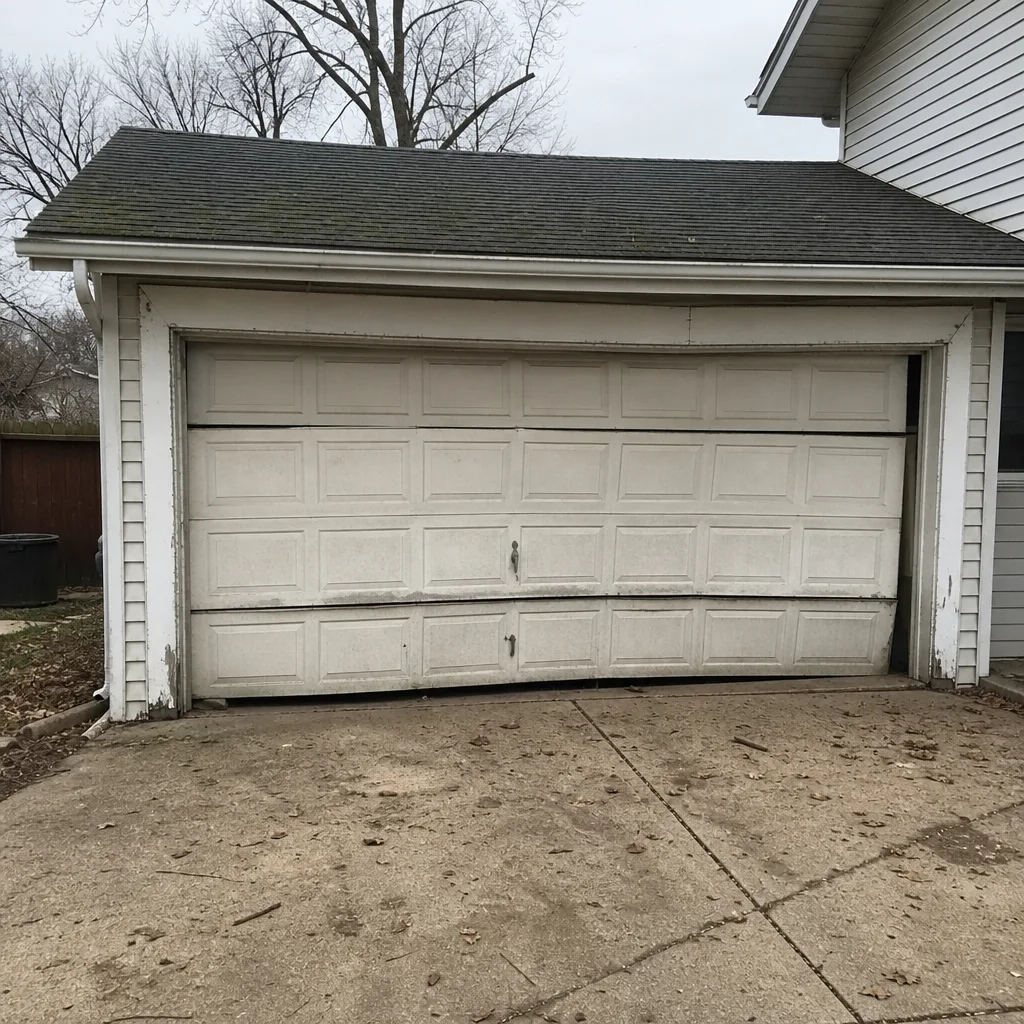
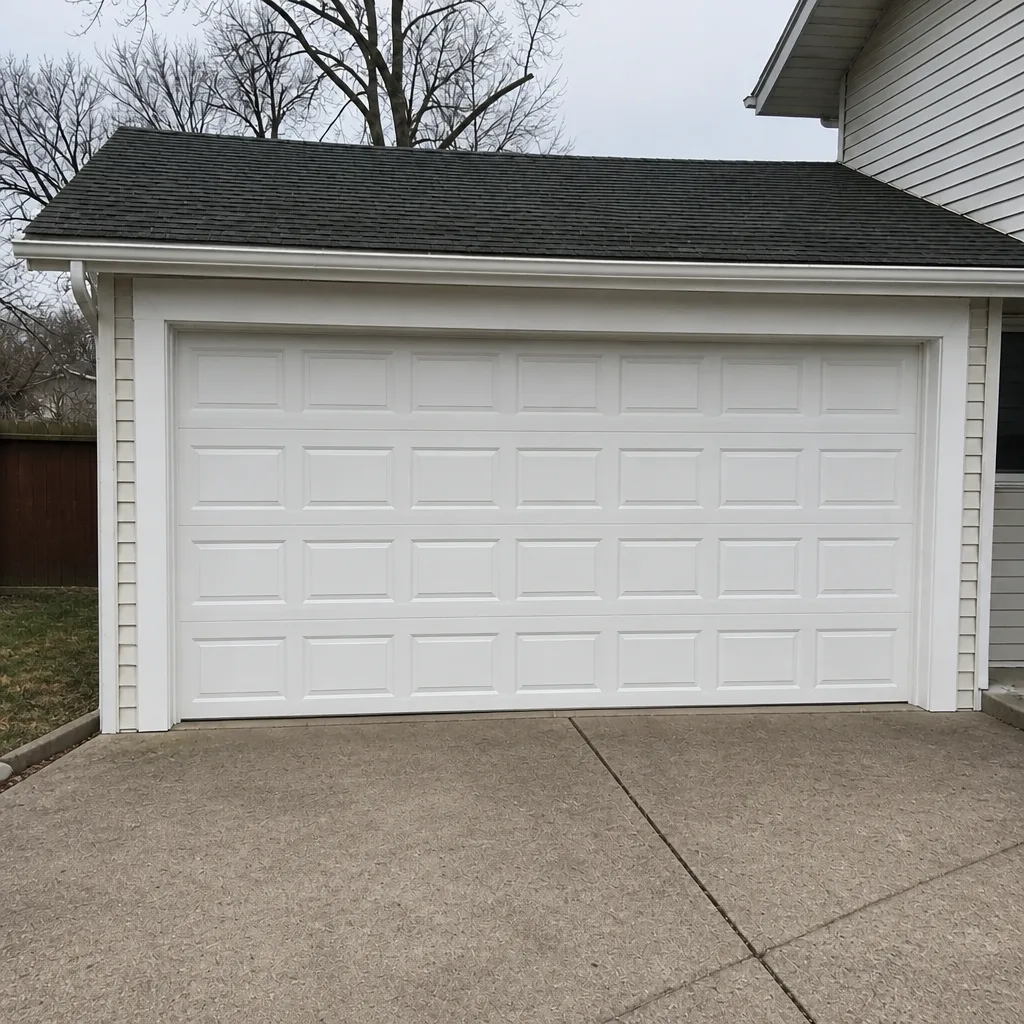
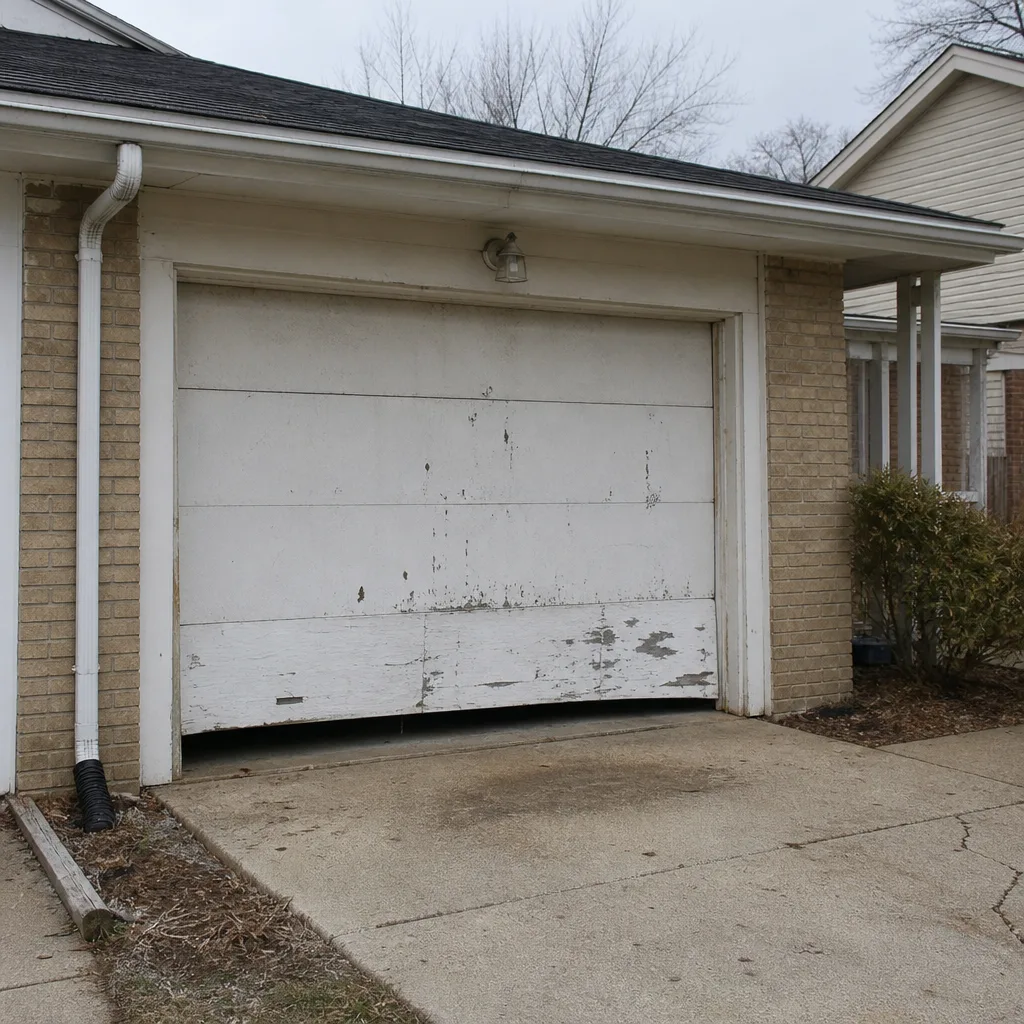
See the difference
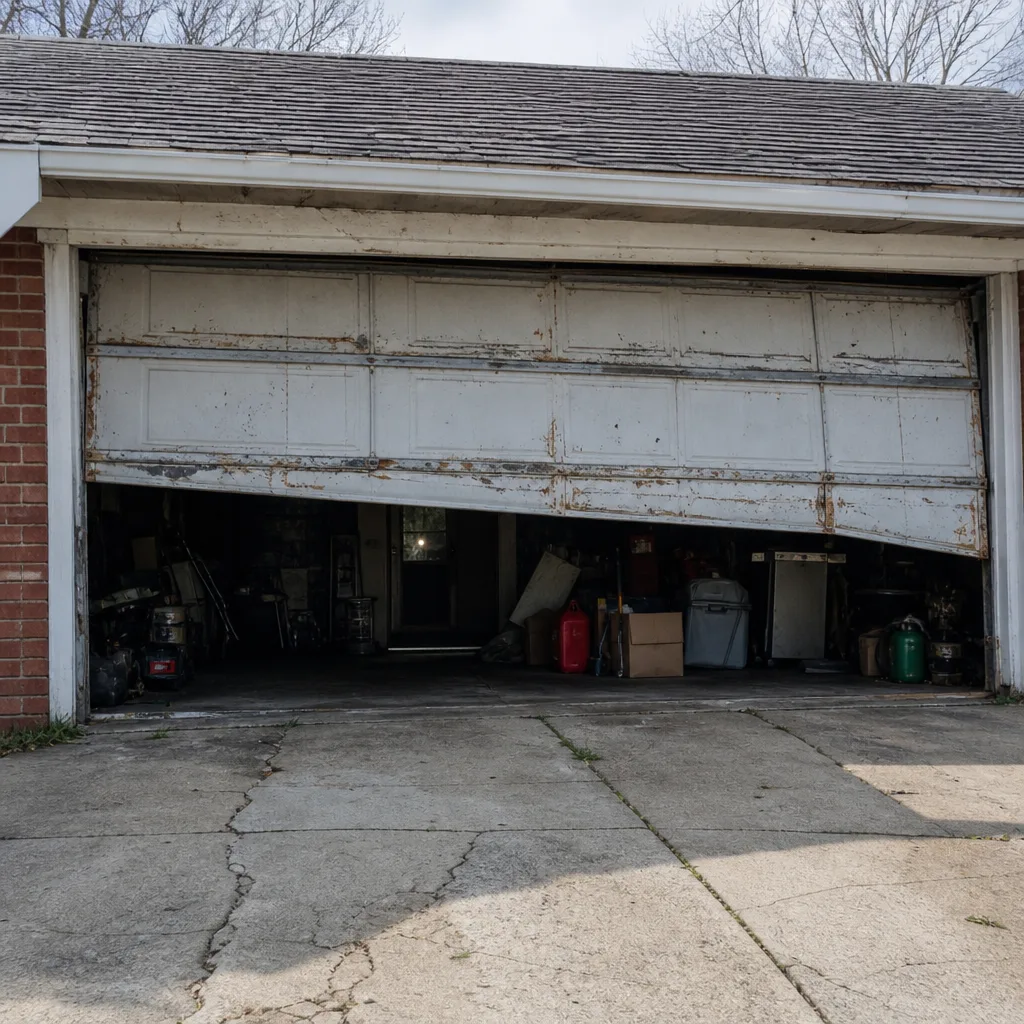 Before
 After
 Before
 After
 Before
 After
Frequently Asked Questions
Every six months, plus after any significant weather event or if the door starts making new noises. Beverly doors on alley-facing walls benefit from a bottom-bracket and lower-roller check more often because of road salt spray. The balance test takes 90 seconds and should be done at every inspection.
Balance. Disconnect the opener, raise the door halfway, and let go. If it drifts or falls, the springs are failing and the opener is doing extra work. A balance problem caught early often avoids a spring replacement entirely.
No. Torsion springs store enough energy to cause serious injury, and the adjustment process is not a homeowner project. If you see a gap in the wind count, rust pitting, or end-cone cracks, call a technician. We treat spring repair as a dedicated service because it’s the highest-risk repair on the door.
Often yes, especially when it’s a photo-eye or safety sensor issue. Call us and we’ll ask what the door is doing so we come prepared. We answer 24/7 and dispatch from 7am to 7pm, Sunday through Friday. The written estimate is set before any work starts.
We service LiftMaster, Chamberlain, Genie, and Craftsman openers, plus the wider set of residential brands we handle daily. Whether your opener is a Wi-Fi-connected LiftMaster or a legacy Craftsman chain drive, we diagnose by brand. For a door installation or a full replacement, we measure, order, and schedule the work so the written price is the price.
It can, but noisy often means worn parts, not dry parts. Do the balance test and the hardware inspection first. If the door passes balance and the noise persists after proper silicone lubrication, the noise is likely a worn roller or hinge. A repair visit tells you which. Call (888) 762-7611 for a free estimate.
The Bottom Line
The value of this checklist isn’t the individual items. It’s the order. Balance first, hardware second, lubrication third, springs fourth, opener last. That sequence catches an unbalanced door before it quietly wears out a spring, and it catches friction before it wears out a roller or a hinge. In Beverly, add a salt-spray check on the bottom bracket and lower rollers, especially if your door faces an alley. Log what you find. And when something crosses the line from “checkable” to “repairable,” call a specialist rather than guessing. A $40 roller replacement and a $300 spring replacement aren’t interchangeable. The checklist’s job is to make sure you never need the second one. If you need garage door repair in Beverly, a specialist visit starts with a free estimate.
Contact Beverly Garage Door Repair Pros
We’re a garage door specialist, not a general handyman, so every visit is about doors and nothing else. Whether you need a spring replaced, an opener diagnosed, parts for a LiftMaster or Chamberlain system, or a full garage door installation, one call covers the full scope. Our technicians have up to 11 years of experience, and we service eight of the most installed residential brands, including Wayne Dalton, Craftsman, Raynor, and the LiftMaster and Chamberlain opener lines.
Call (888) 762-7611 for a free estimate. We answer 24/7, and fast dispatch from 7am to 7pm runs Sunday through Friday. Every price is quoted and agreed before any work starts, and the written estimate sets the final price. You can also read more on Beverly Garage Door Repair Pros and our garage door opener repair page if the opener is what’s failing.
Written by the team at Beverly Garage Door Repair Pros.